Baserow is a open source, free and self hosted no-code database and Airtable alternative. It offers integration with other software and real-time collaboration. Baserow is a great tool for managing data and creating databases without writing a single line of code.
Sign Up
On your first visit to the site, you will be presented with the login/signup screen.
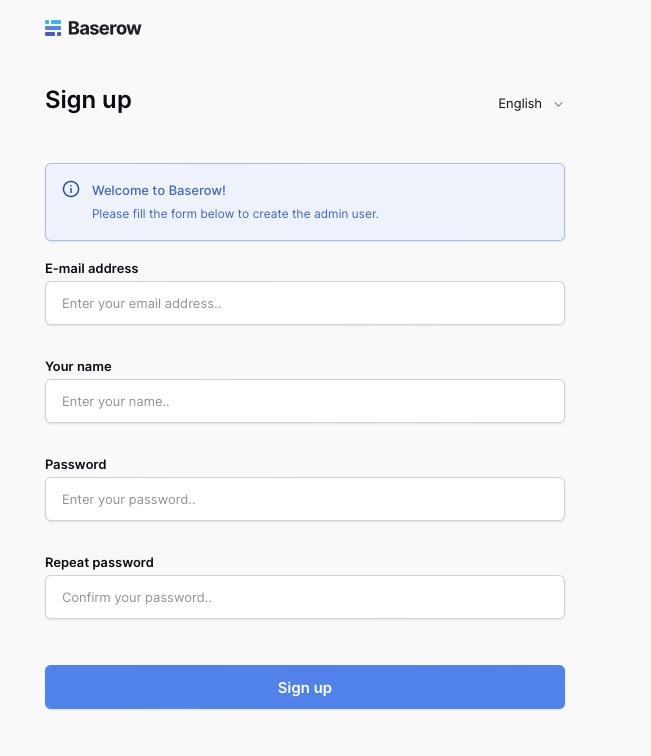
When your instance is first created, an account is created for you with the email you chose. You can get the password for this account by going to your Elestio dashboard and clicking on the "Show Password" button.
Enter your username and password and click the "Sign Up" button.
Databases & Tables
Creating New Database
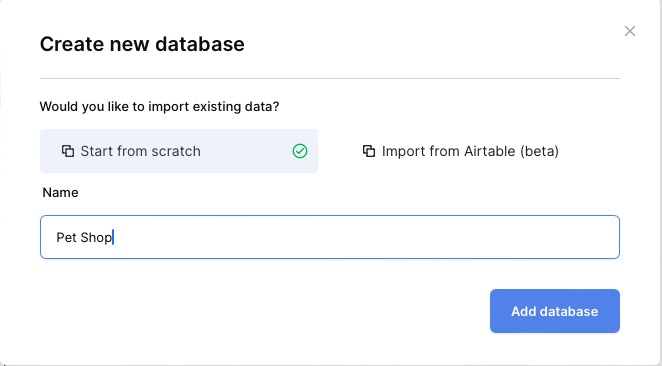
Once logged in, the dashboard will be presented. From here, a new database can be created by clicking the "Create New" button. Adding a name to the table and clicking the "Add database" button is essential for organizing and optimizing projects, ideas, and business processes.
Importing database from Airtable
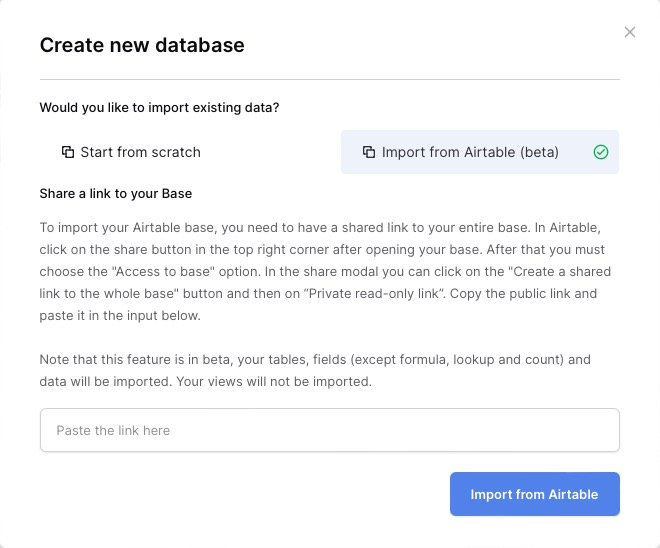
If a database has already been created in Airtable, it can be imported into Baserow. To do this, click the "Import from Airtable" button. The Airtable Public URL needs to be entered, which can be found on the Airtable account page using share options. Once the URL is entered, click the "Import from Airtable" button. This is used to ensure that your previous data is migrated to Baserow.
Creating New Table
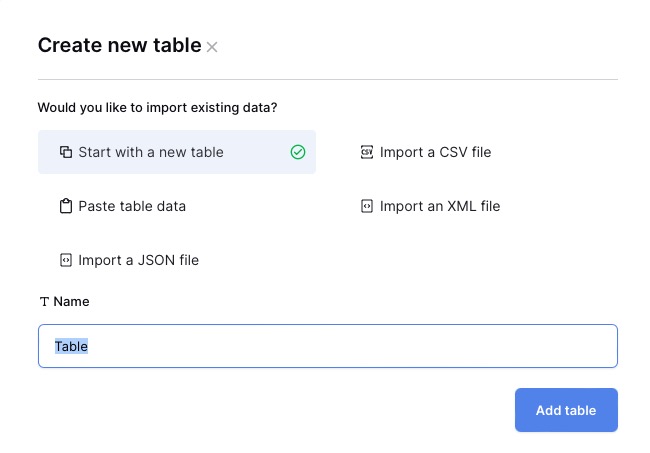
To enhance your data organization it is crucial to create a table within your database. By clicking the "Create table" button, you can easily add a table to your database. Whether you choose to import data from CSV, XML, or JSON files, or simply copy and paste the data, the process is simple. Give your table a meaningful name and click the "Add table" button to complete the creation process.
Editing a Table
To optimize your table, click the "Edit" button. Improve your table's functionality by adding new columns, adjusting column data types, renaming columns, and reordering rows and columns. Editing the table allows you to customize and organize your data according to your specific needs, ensuring better data management and analysis.

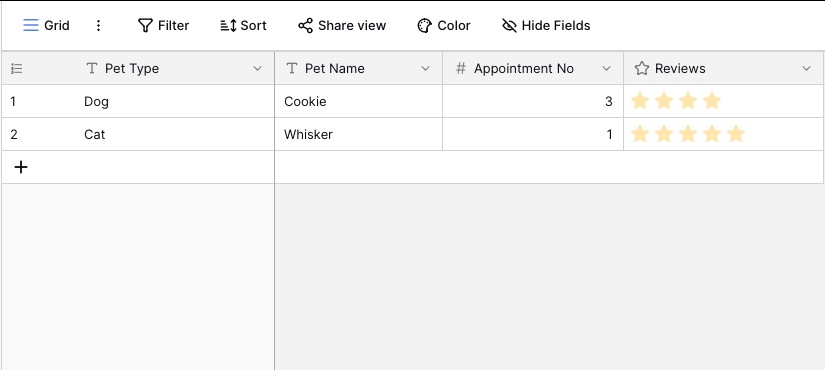
Viewing the data
Easily sort, filter, and hide unnecessary fields to customize how you view your data. Change your data visualization by updating the color of rows and columns. Share your customized view with others privately.
Additional Options
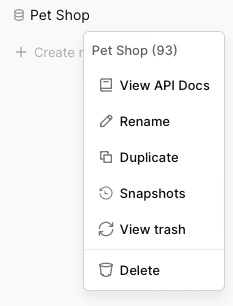
The additional options available for the database provide valuable benefits for data management and organization. These options include the ability to rename the database, create duplicate copies for easy replication, take snapshots for backups, and view deleted entries. These features enhance data control, facilitate backups, and streamline data analysis, making your workflow more productive and secure.
Creating a Database tokens
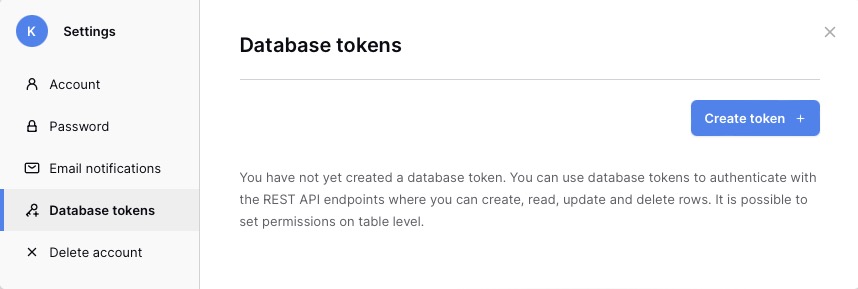
Database tokens are essential for authenticating with the API. By creating a database token, you can securely access and interact with your data. To create a token, navigate to the database settings page, located under Personal Setting > Database tokens settings. Click the "Create token" button and provide a descriptive name and workspace for your token. This token grants authorized access to your data, enabling integration with third-party systems and facilitating automated processes.
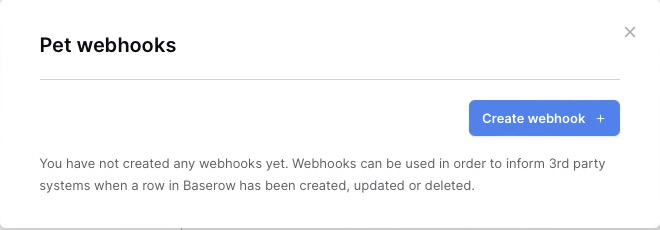
Creating Webhooks
Webhooks play a crucial role in notifying third party systems about the creation, update, or deletion of a row in Baserow. Using webhooks in this no-code platform, you can integrate and synchronize your data with external applications and services. This not only enhances the efficiency of your workflows but also enables real time data updates across multiple systems. To create a webhook, simply navigate to the "Table" dropdown, click the "Create webhook" button, and provide a descriptive name and workspace for your webhook.
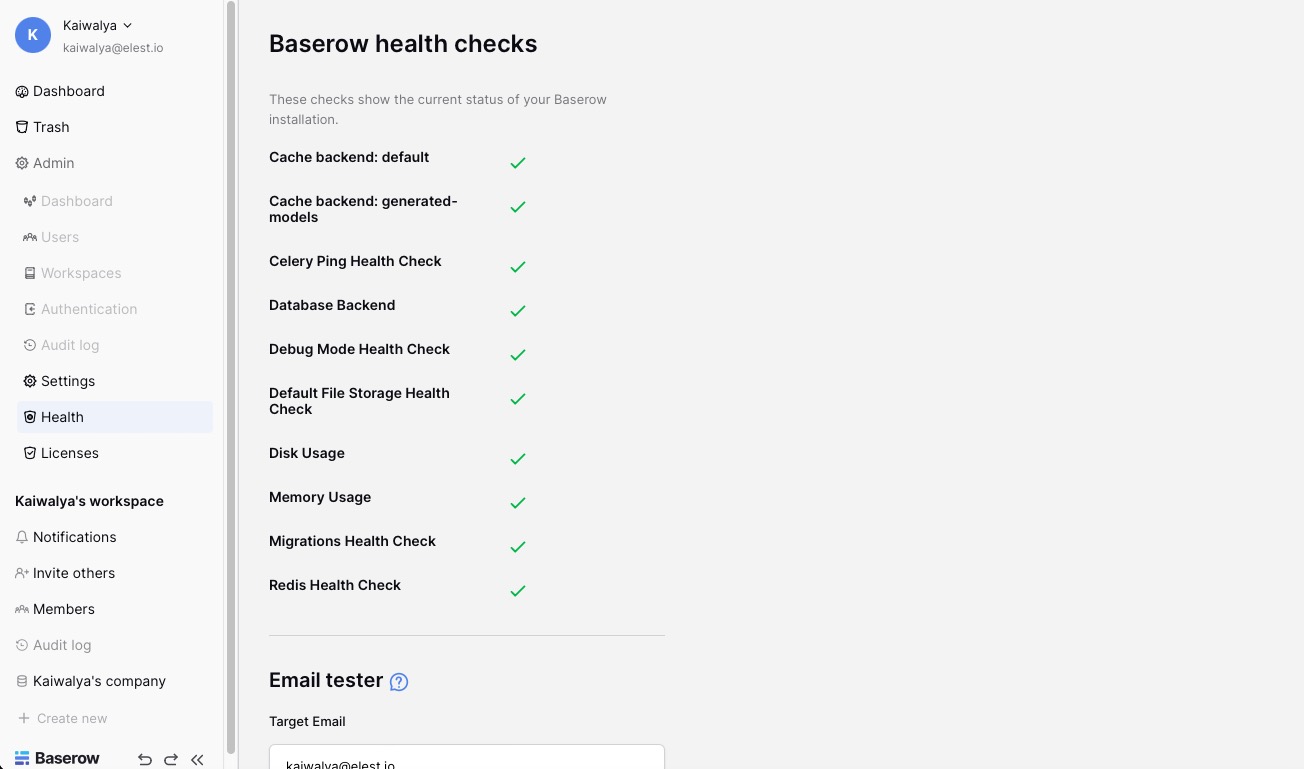
Health Checks
To ensure the optimal performance and reliability of your instance, it is important to regularly check the health of your system. By accessing the health check page located under Admin > Health, you can monitor the status of your databases and backend, identifying and resolving any potential issues promptly. Conducting regular health checks not only helps to maintain the stability of your system but also enhances the overall user experience.
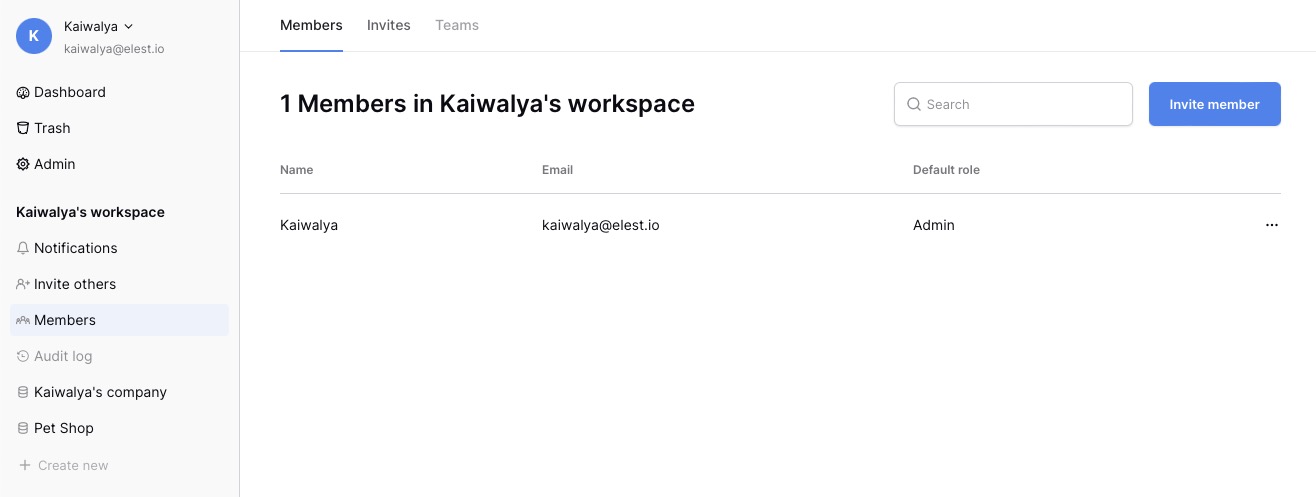
Add Members
Working with other team members? You can add them to your workspace by going to the workspace settings page. You will find this page under Workspace settings > Members. Click the "Invite member" button and enter the email address of the person you want to add. Click the "Send Invite" button.