Mautic is an open source, self hosted marketing automation platform. Mautic supports operations in 35 languages through extensive language translations. Mautic is backed by a dedicated team of over a thousand volunteers. As the world's largest open source marketing automation project, Mautic offers various features to automate and better manage your marketing efforts.
Login
On your first visit to the site, you will be presented with the login/signup screen.

When your instance is first created, an account is created for you with the email you chose. You can get the password for this account by going to your Elestio dashboard and clicking on the "Show Password" button.
Enter your email, name and password and click the "Login" button
Calendar
The calendar in Mautic provides a view of your scheduled campaigns and emails, offering insights into your marketing efforts. By visualizing your scheduled campaigns and emails, the calendar enables you to plan and strategize your marketing campaigns, ensuring timely execution and maximizing the impact of your marketing efforts.

Creating Contact
To create a contact in Mautic, navigate to the "Contacts" menu item and click on the "New" button. This feature allows you to efficiently manage and target individuals for marketing purposes. Creating contacts in Mautic helps you to organize and segment your audience .

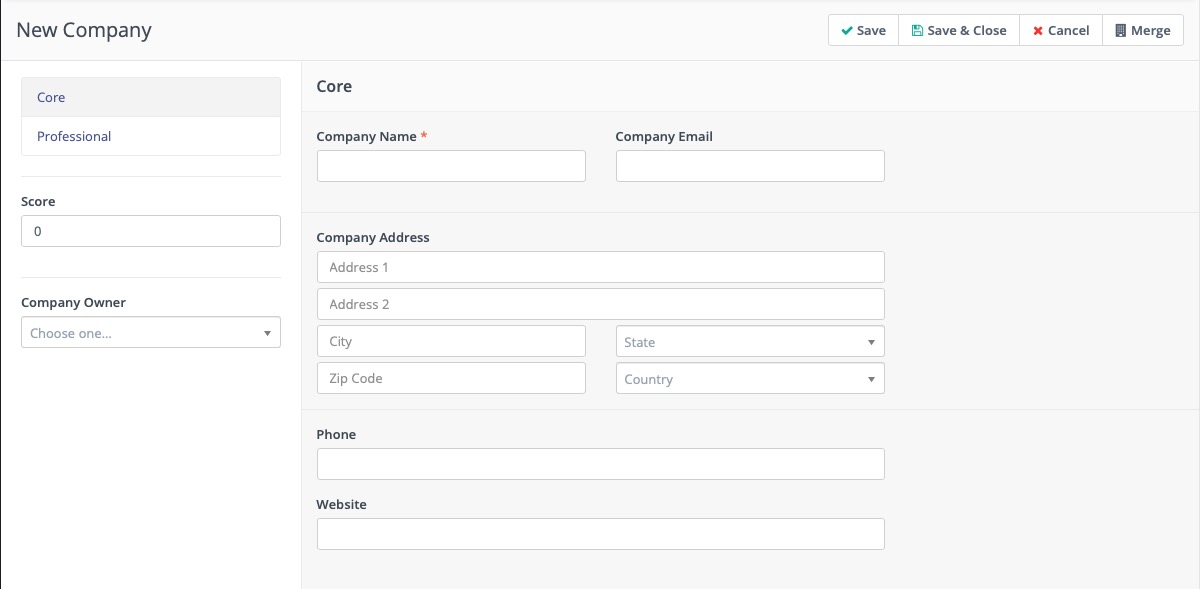
Creating New Company
To create a company in Mautic, navigate to the "Companies" menu item and click on the "New" button. Companies in Mautic serve as a tool for organizing and managing groups of individuals from similar organizations. By creating companies, you can easily segment and target your contacts based on their company affiliation, allowing for more personalized and targeted marketing campaigns.

Creating New Segment
Segments in Mautic allows you to group contacts together based on specific criteria. By creating segments, you can organize and target your audience, ensuring personalized and targeted marketing campaigns. This not only improves engagement but also increases the likelihood of conversions.

Creating New Campaign Form
Campaigns in Mautic are used for automating your marketing efforts. By using the interface and advanced features of Mautic, you can create highly targeted and personalized campaigns that drive engagement and conversions. With the ability to add actions and decisions to your campaigns, you can automate various marketing tasks such as sending emails, tracking user behavior.
To create a campaign in Mautic, simply navigate to the "Campaigns" menu item and click on the "New" button. Take advantage of Mautic's extensive capabilities to design and execute sophisticated marketing campaigns that engage and convert your target audience.

Creating Marketing Messages
Use "Messages" menu item and creating a new message, you can create compelling content and deliver it directly to your audience. With the ability to schedule messages for future delivery, Mautic helps you to plan and execute your email campaigns . Creating messages allows you to personalize your communication by tailoring the content to specific segments of your audience. Additionally, Mautic provides advanced features such as tracking and analytics, helping you to measure the effectiveness of your email campaigns and make data-driven decisions.

Creating Social Monitor
Monitors in Mautic allows you to track specific events or actions and automate tasks based on them. For example, you can create a Social monitor to track specific hashtags on Twitter and automatically add contacts who tweeted with those hashtags to a segment. By creating monitors, you can monitor and analyze data from various sources, helping you to make better decisions and optimize your marketing strategies. To create a monitor in Mautic, simply navigate to the "Monitors" menu item and click on the "New" button.

Creating Trigger
By creating triggers in Mautic, you can automate actions and decisions to be executed when certain criteria are met. This not only saves time and effort but also ensures consistent and targeted marketing campaigns. Triggers allow you to nurture leads and guide them through the customer journey by automatically delivering relevant content and offers. To create a trigger in Mautic, navigate to the "Manage Triggers" menu item and click on the "New" button. From there, you can define the conditions that will trigger the automation and specify the actions and decisions to be taken.

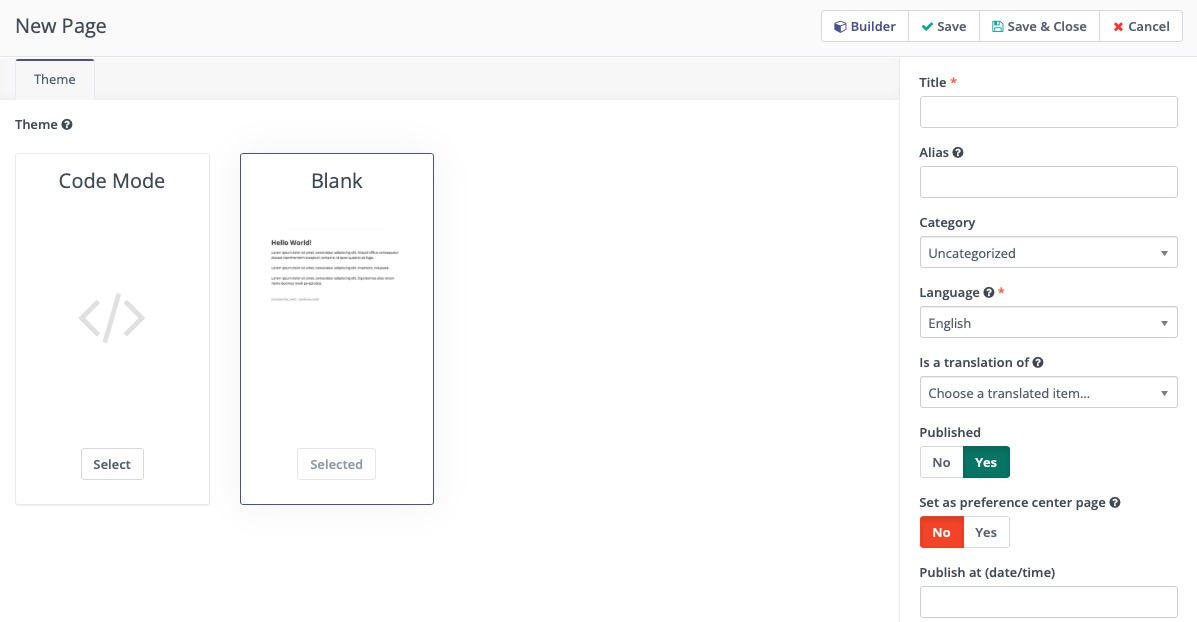
Landing Page
Build professional and engaging landing pages easily with Mautic. Access the "Landing Pages" menu item and create pages that captivate your audience. By utilizing landing pages in Mautic, you can enhance your online presence, drive conversions, and optimize your marketing campaigns.

Users
To create users and roles in Mautic, navigate to the "Users" menu item under settings and click on the "New" button. This feature allows you to manage and assign roles to users, granting them specific permissions within the platform.

Roles
Roles serve as a way to group permissions together, providing a better approach to user management. By assigning roles, you can ensure that each user has the appropriate level of access and control over the marketing automation processes in Mautic. By assigning roles to users, you can ensure that each user has the appropriate level of access and control over the marketing automation processes in Mautic.

Configuration
To optimize your Mautic instance, navigate to the "Configuration" menu item under settings. Here, you can configure your site's SEO settings, including the site name, site URL, and email configurations. Additionally, you can customize themes, set up emails, forms, segments, and companies to align with your marketing goals.
One of the key benefits of configuring Mautic is the ability to integrate with other applications using the API settings. By generating an API token, you can easily connect Mautic with external tools and systems, enabling data synchronization and automation.

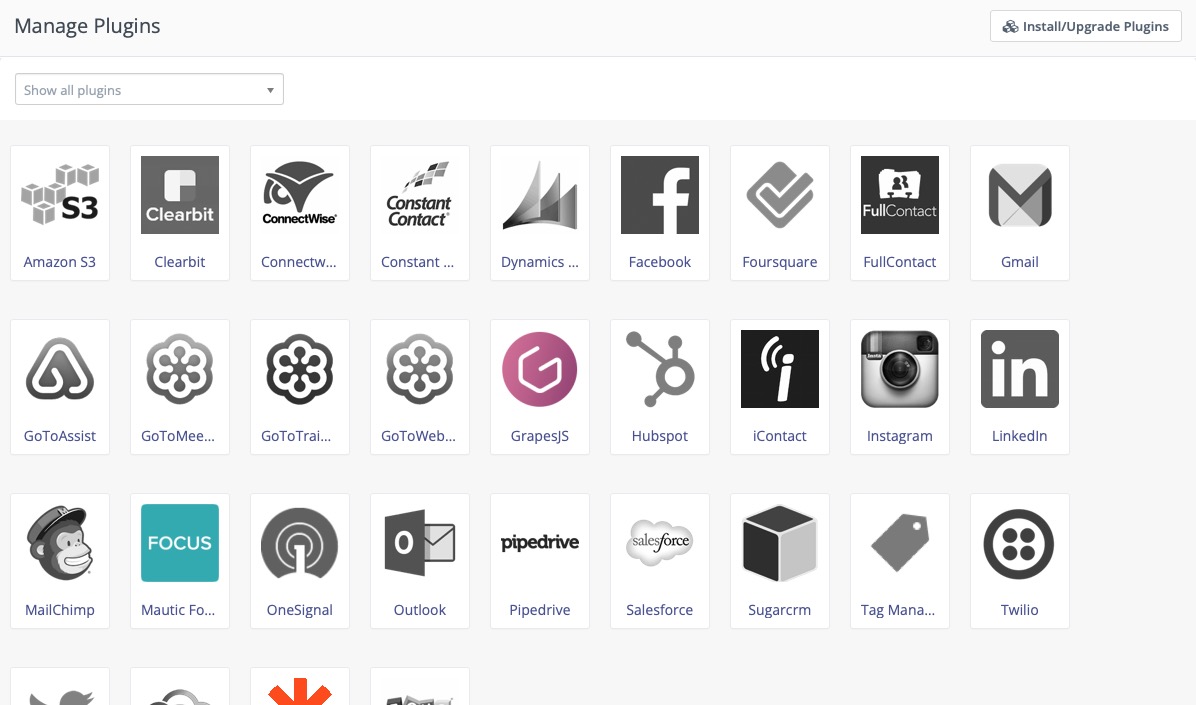
Managing Plugins
Mautic plugins are a way to enhance the functionality and capabilities of the Mautic marketing automation platform. By installing plugins, you can extend the features and customize the tool according to your specific needs. To install plugins, navigate to the "Plugins" menu item under settings and choose the desired plugin from the available options. They allow you to integrate with external applications and services.

Access the "Install/Upgrade Plugins" menu item located at the top right corner of the interface and select the desired plugin to easily integrate advanced features and customize the tool according to your specific needs.
