Paperless-ngx is an open source document management system. With its ability to organize and index scanned documents, perform OCR (Optical Character Recognition) on them, and support for a wide range of file types, Paperless-ngx makes it easy to convert your physical documents into searchable online archives. It uses the open-source Tesseract engine, capable of recognizing over 100 languages, and stores documents in the long-term storage-friendly PDF/A format, alongside the unaltered originals.
Login
On your first visit to the site, you will be presented with the login/signup screen.
When your instance is first created, an account is created for you with the email you chose. You can get the password for this account by going to your Elestio dashboard and clicking on the "Show Password" button.
Enter your username and password and click the "Sign in" button.
Documents
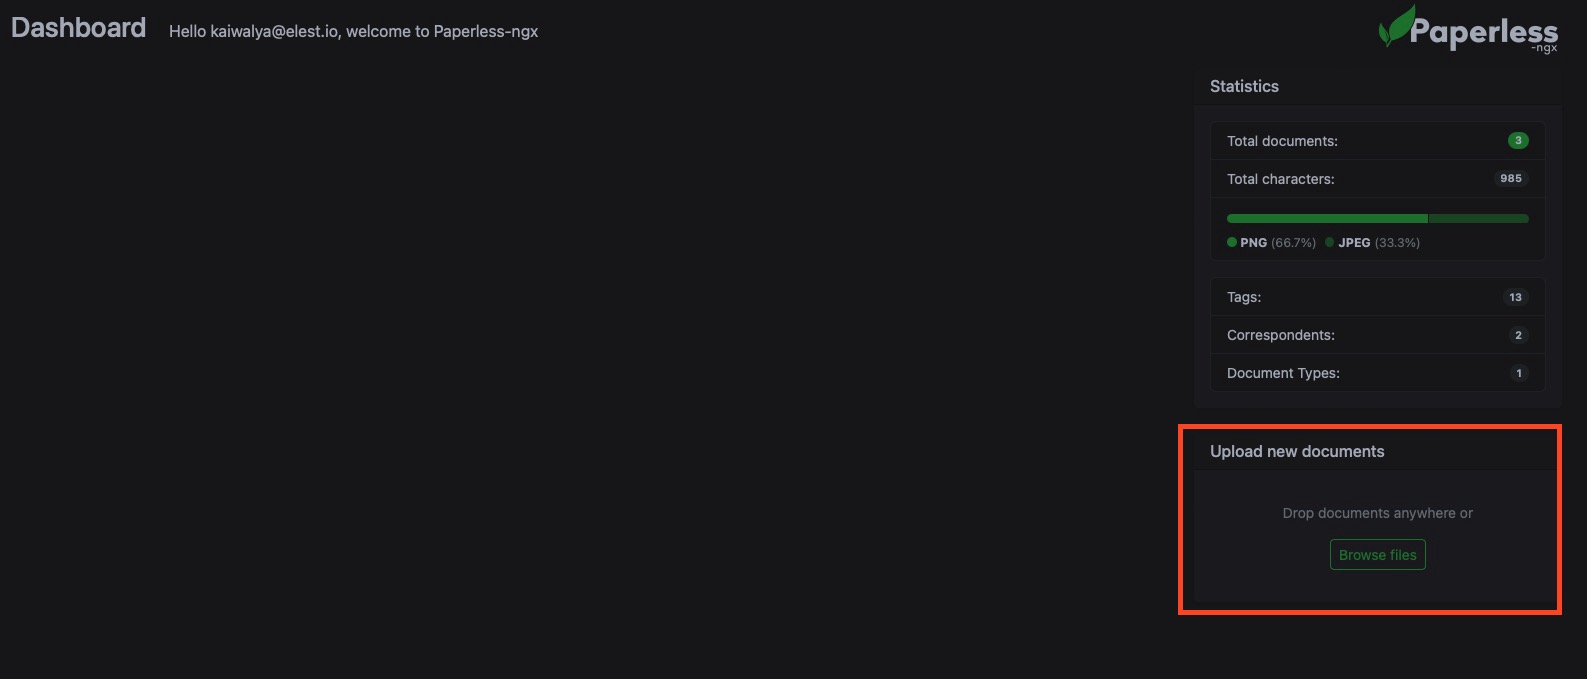
Upload New Documents
Once you are logged in, head over to the Dashboard and click on the "Upload" button on the left and side. Drag and drop document or click on the "Select files" button to select a file from local computer.
Adding Details to Document
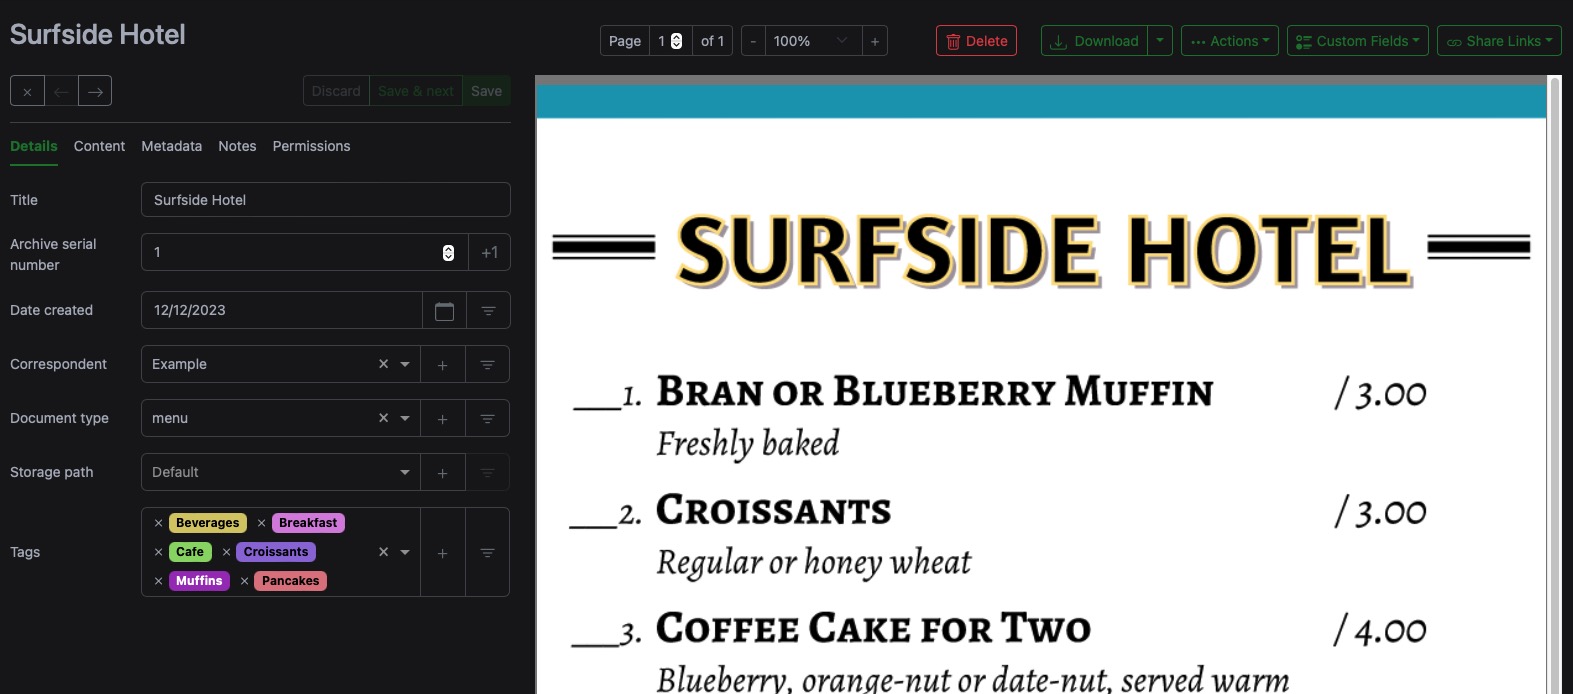
Additional data like adding details to document such as the correspondent, document type, and date will help us further to organize documents and categorize them efficiently. This will search for documents by the content of the document. You get to manually create tags or tags are created for the document based on the OCR performed on the document. Machine learning is also used to automatically tag the documents and fill other details like content of the document, correspondent and document-type.
Content of Documents
View the content of the document by clicking on the "Content" tab. This will show the scanned content of the document. This is outcome of OCR performed on the document. This will search for the documents by the content of the document. This will also help to copy the content of the document.

View Documents
View all documents by clicking on the "Documents" button on the left-hand side of the screen. All the documents uploaded with tags and other details provided during the upload process.
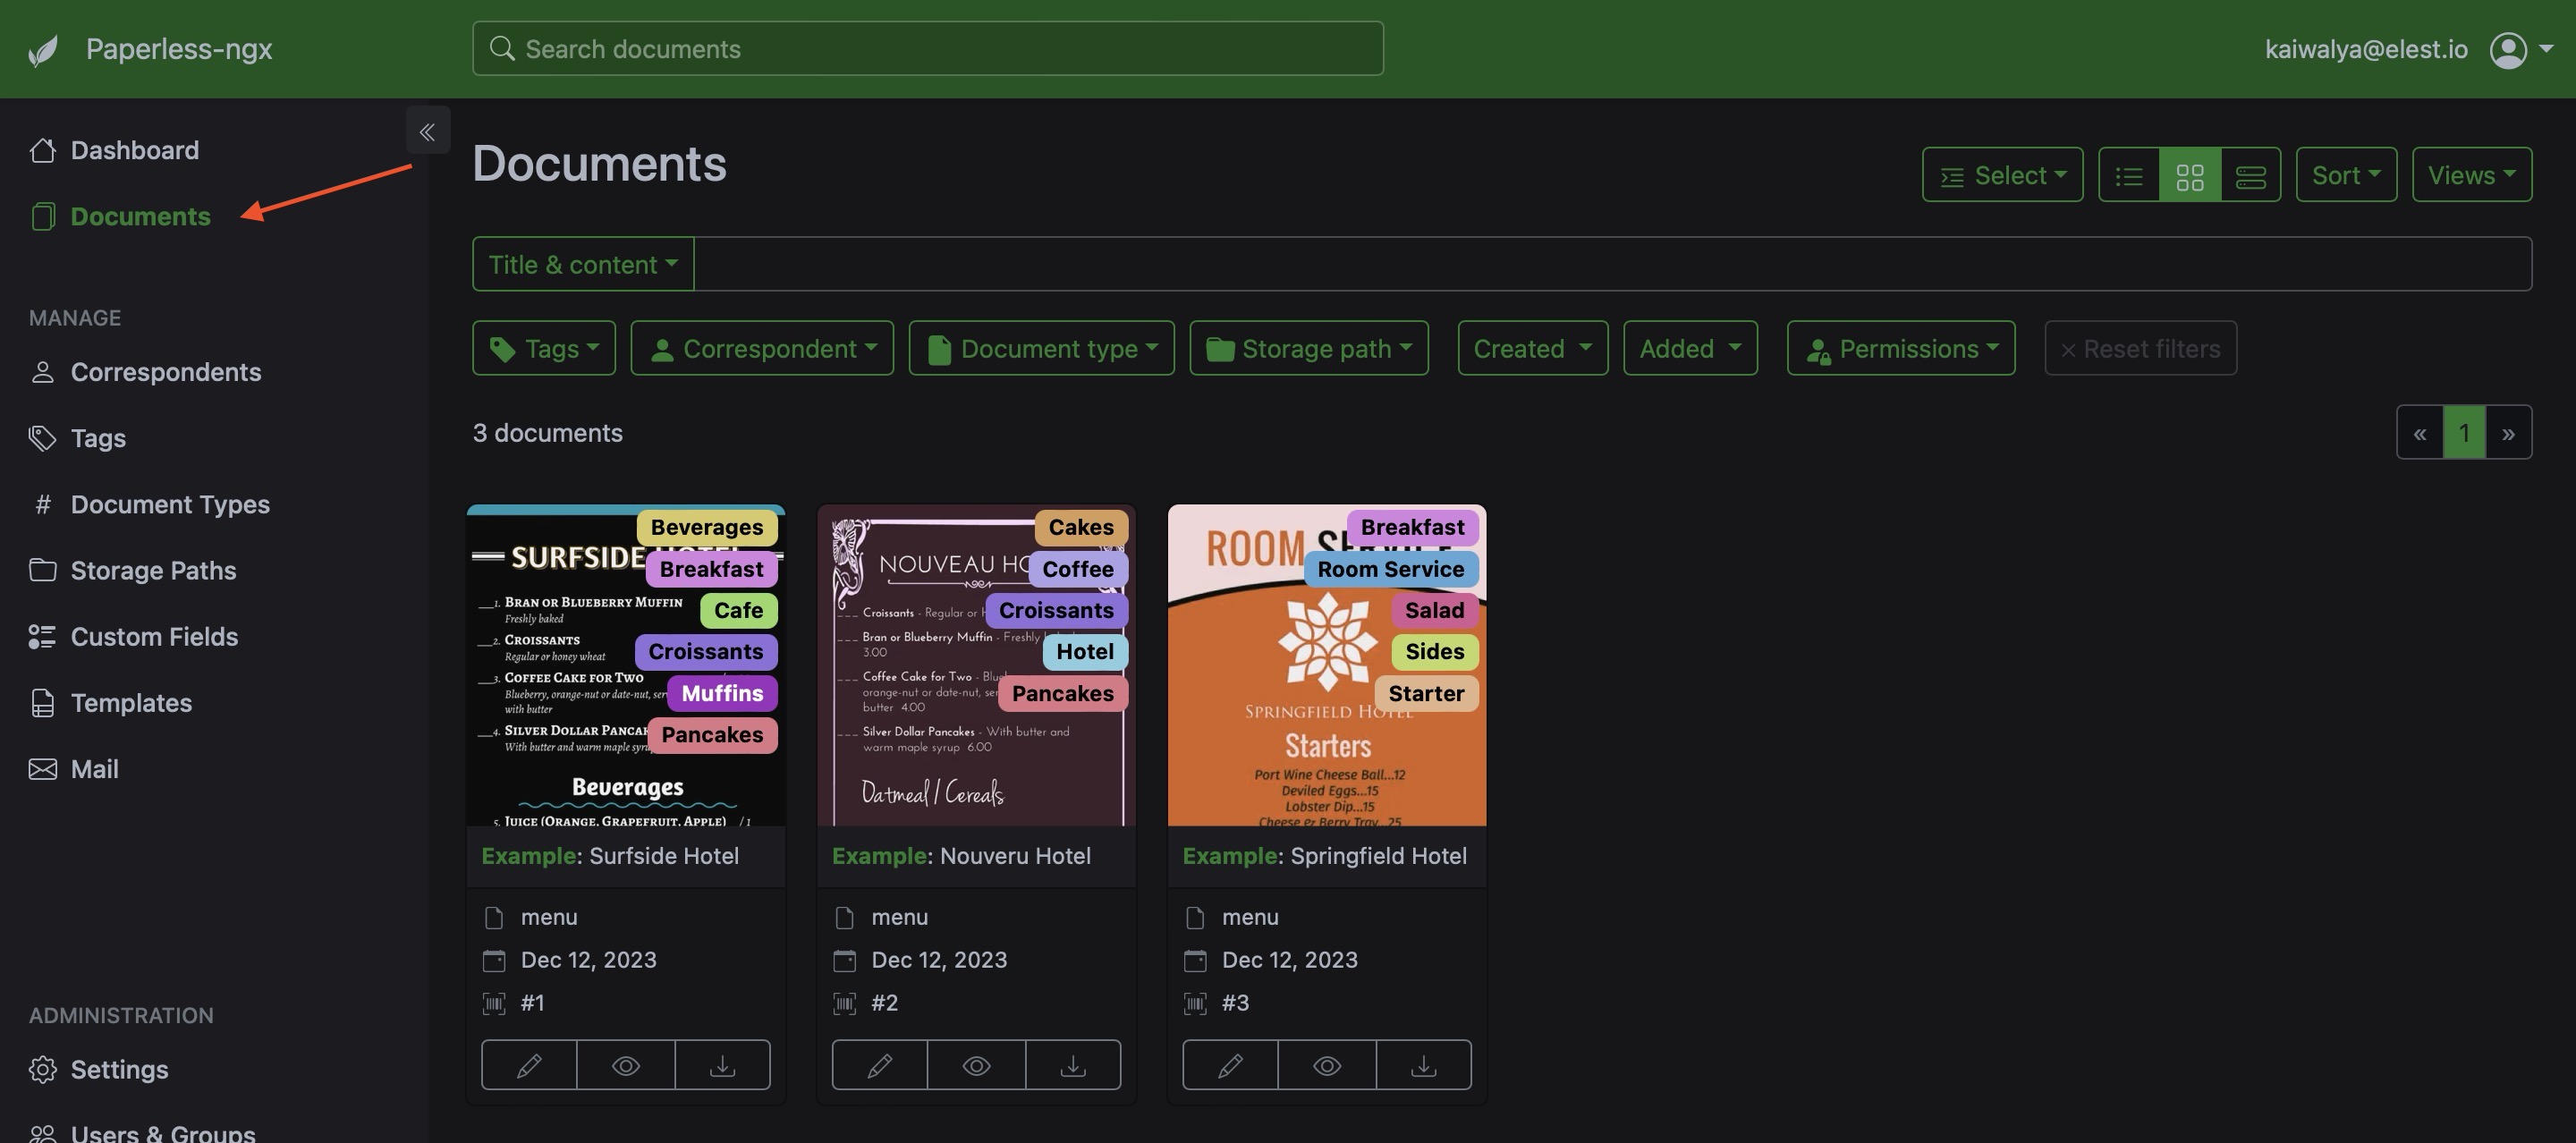
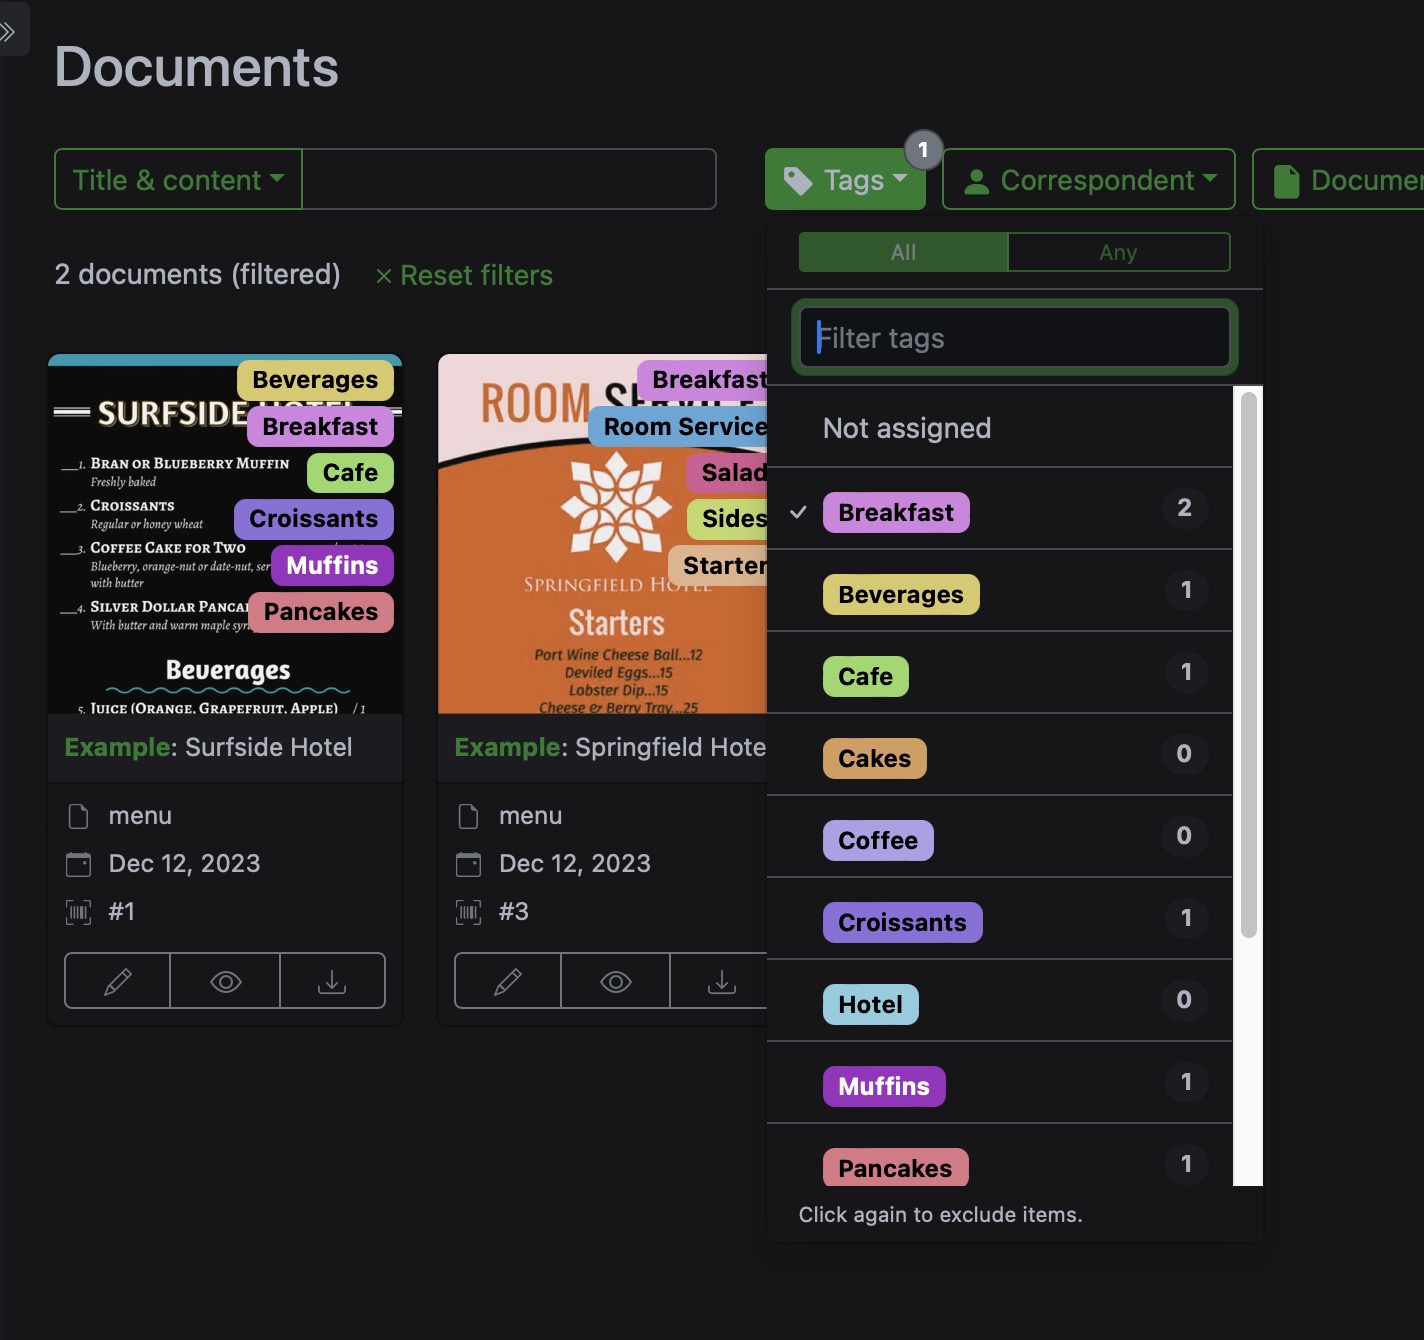
Search & Filter Documents
Search for documents by clicking on the search bar on the top of the screen. Filter documents by tags, document type, correspondent and date. This will help find the document quickly. OCR performed while upload helps to search keywords in the content of the document and it is not limited to pdf files you can search for keywords in images as well. For images tesseract engine is used which is an engine for Optical Character Recognition (OCR). Tesseract is specifically designed to read images and convert them into text and it can recognize 100+ languages.
Share Documents
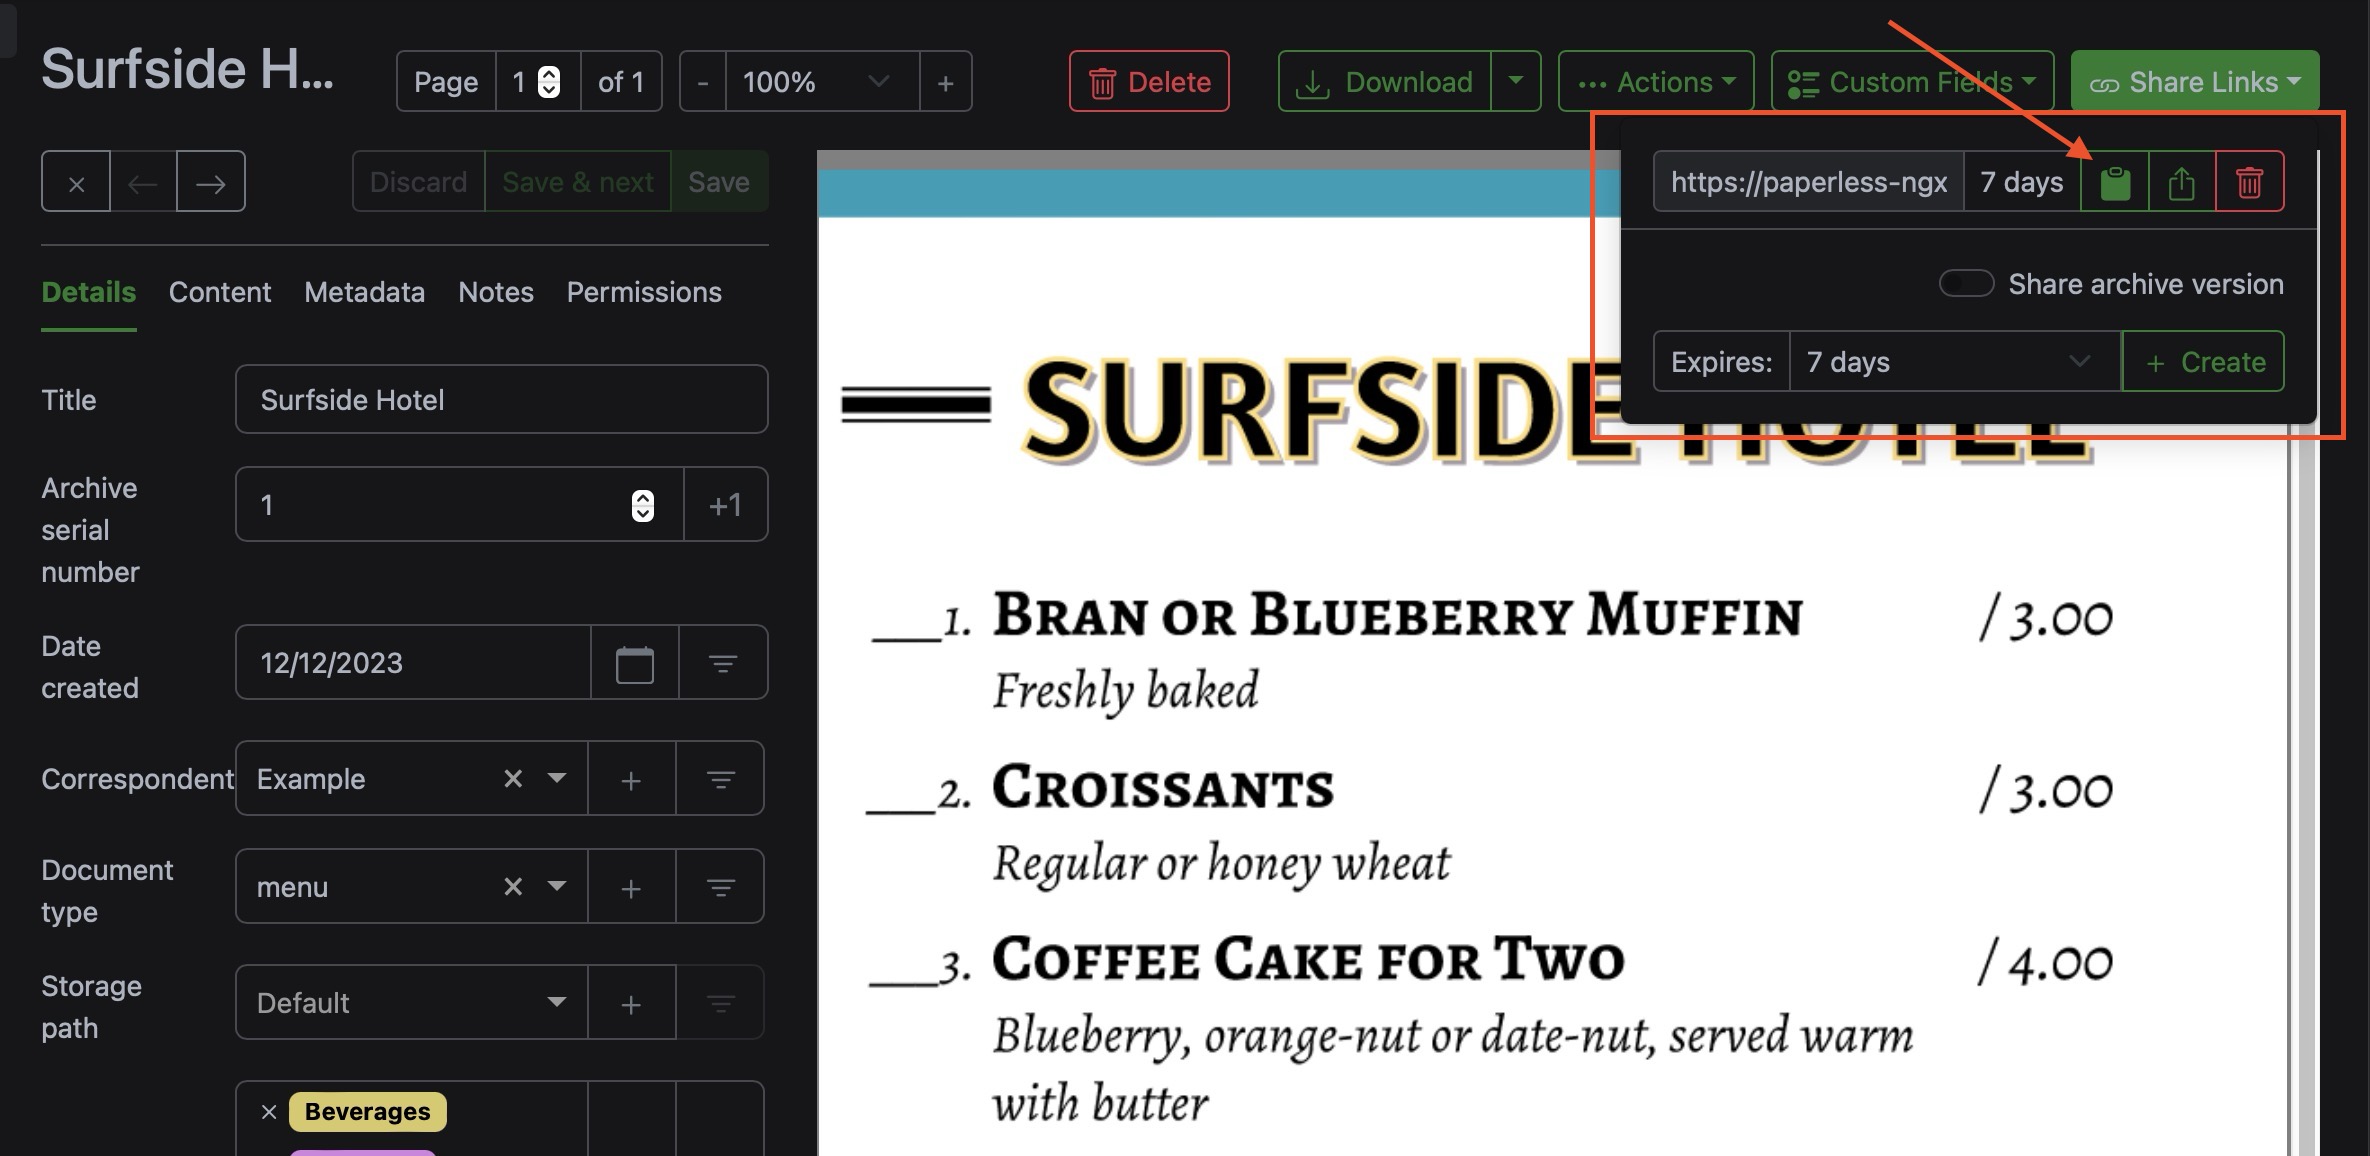
Sharing documents with the team members of publicly by sharing the link to the document. Create the sharable link by visiting the document and click on "Share links" button on the top right-hand side of the screen. Set the expiry date for the link. This will allow to share documents with the team members and collaborate with them. Click on the clipboard or directly share it through applications
Rescan Documents
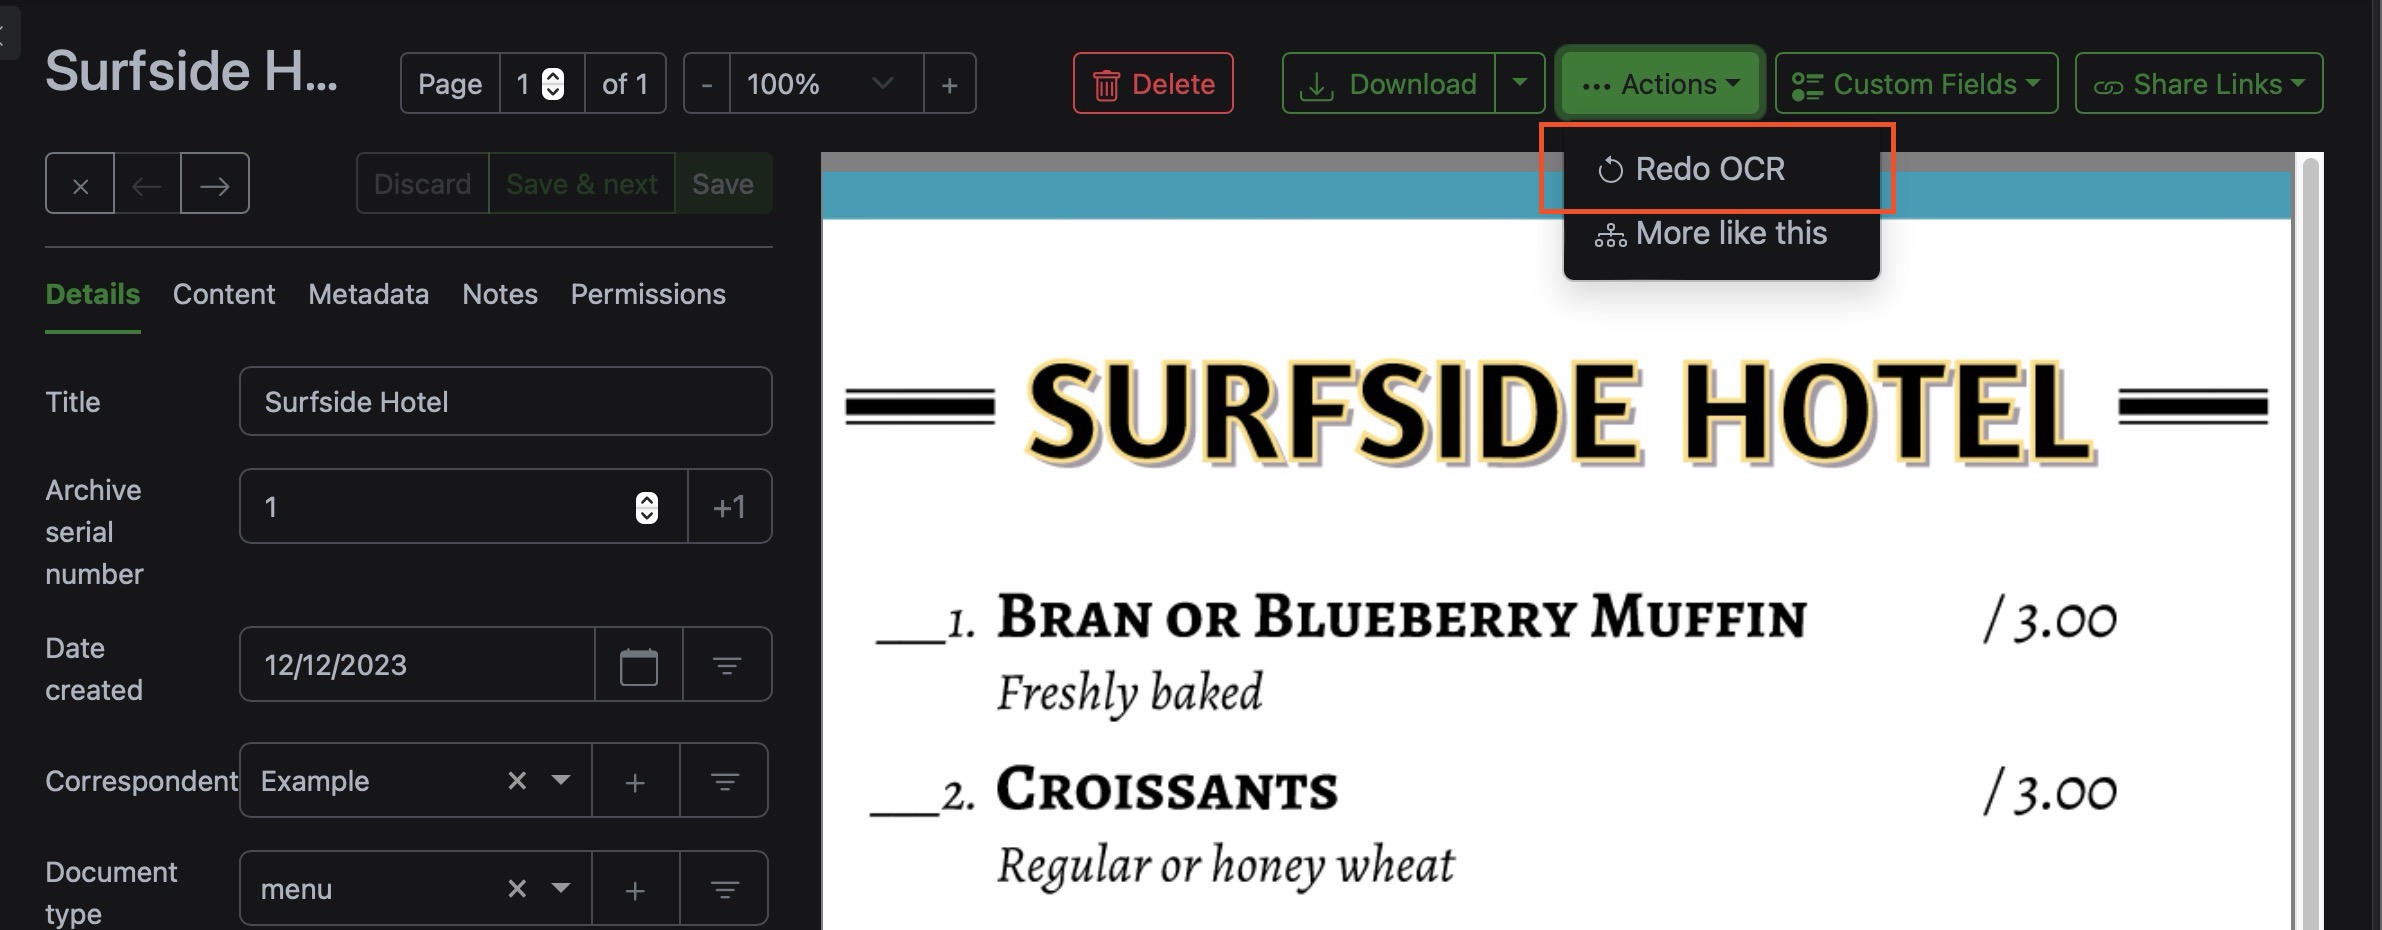
If the OCR performed on the document is not accurate, you can rescan the document. Rescan the document by visiting the document and click on "Actions" and then "Redo OCR" button on the top right-hand side of the screen. This will ensure the accuracy of the OCR performed on the document.
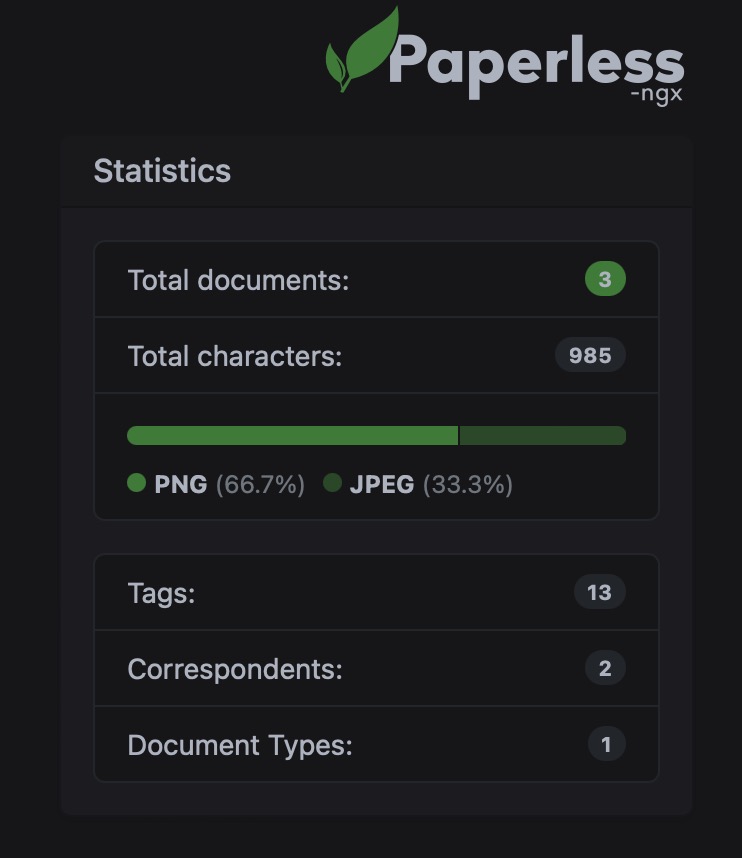
Statistics
Once you head over to Dashboard, there is a statistics section on the right-hand side of the screen. This will show you the number of documents you have uploaded, the ratio of the document types, the number of documents, number of tags and number of correspondent.
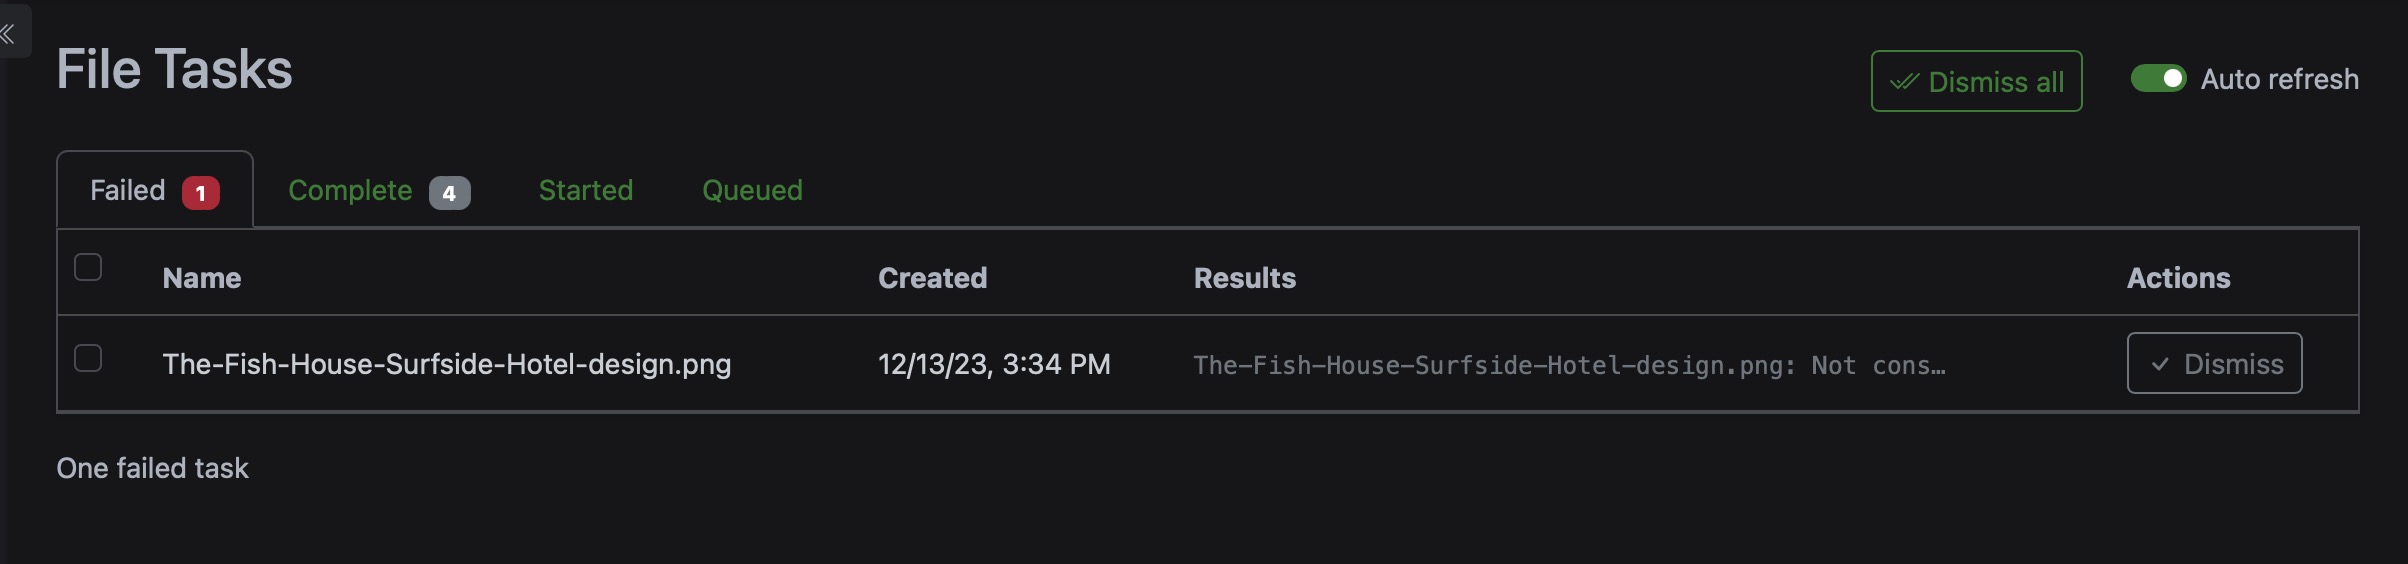
Uploading Same Document
If you upload the same document again, it will show as failed in the upload screen. This is because Paperless will not allow upload the duplicate document. This makes it easier to keep track of documents and does not create duplicates. The failed documents are stored and recorded in the "File tasks" tab in the upload screen. You can delete the failed documents or plan to do something from the "File tasks" tab.
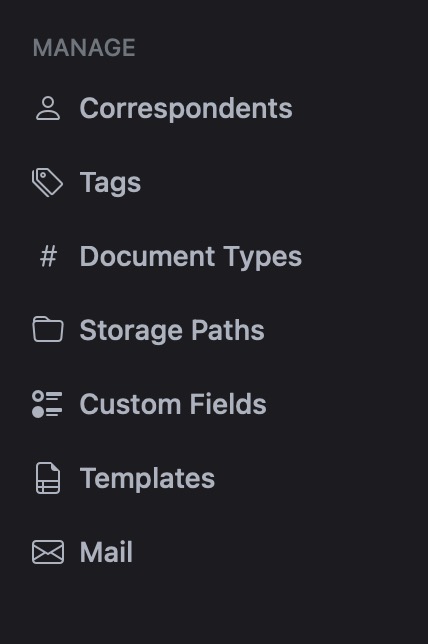
Managing Tags, Correspondents and Document Types
Managing tags, correspondents and document types by clicking on the "Manage" section on the left-hand side of the screen. Add, edit and delete tags, correspondents and document types from this screen. This will help to organize documents and categorize them efficiently.
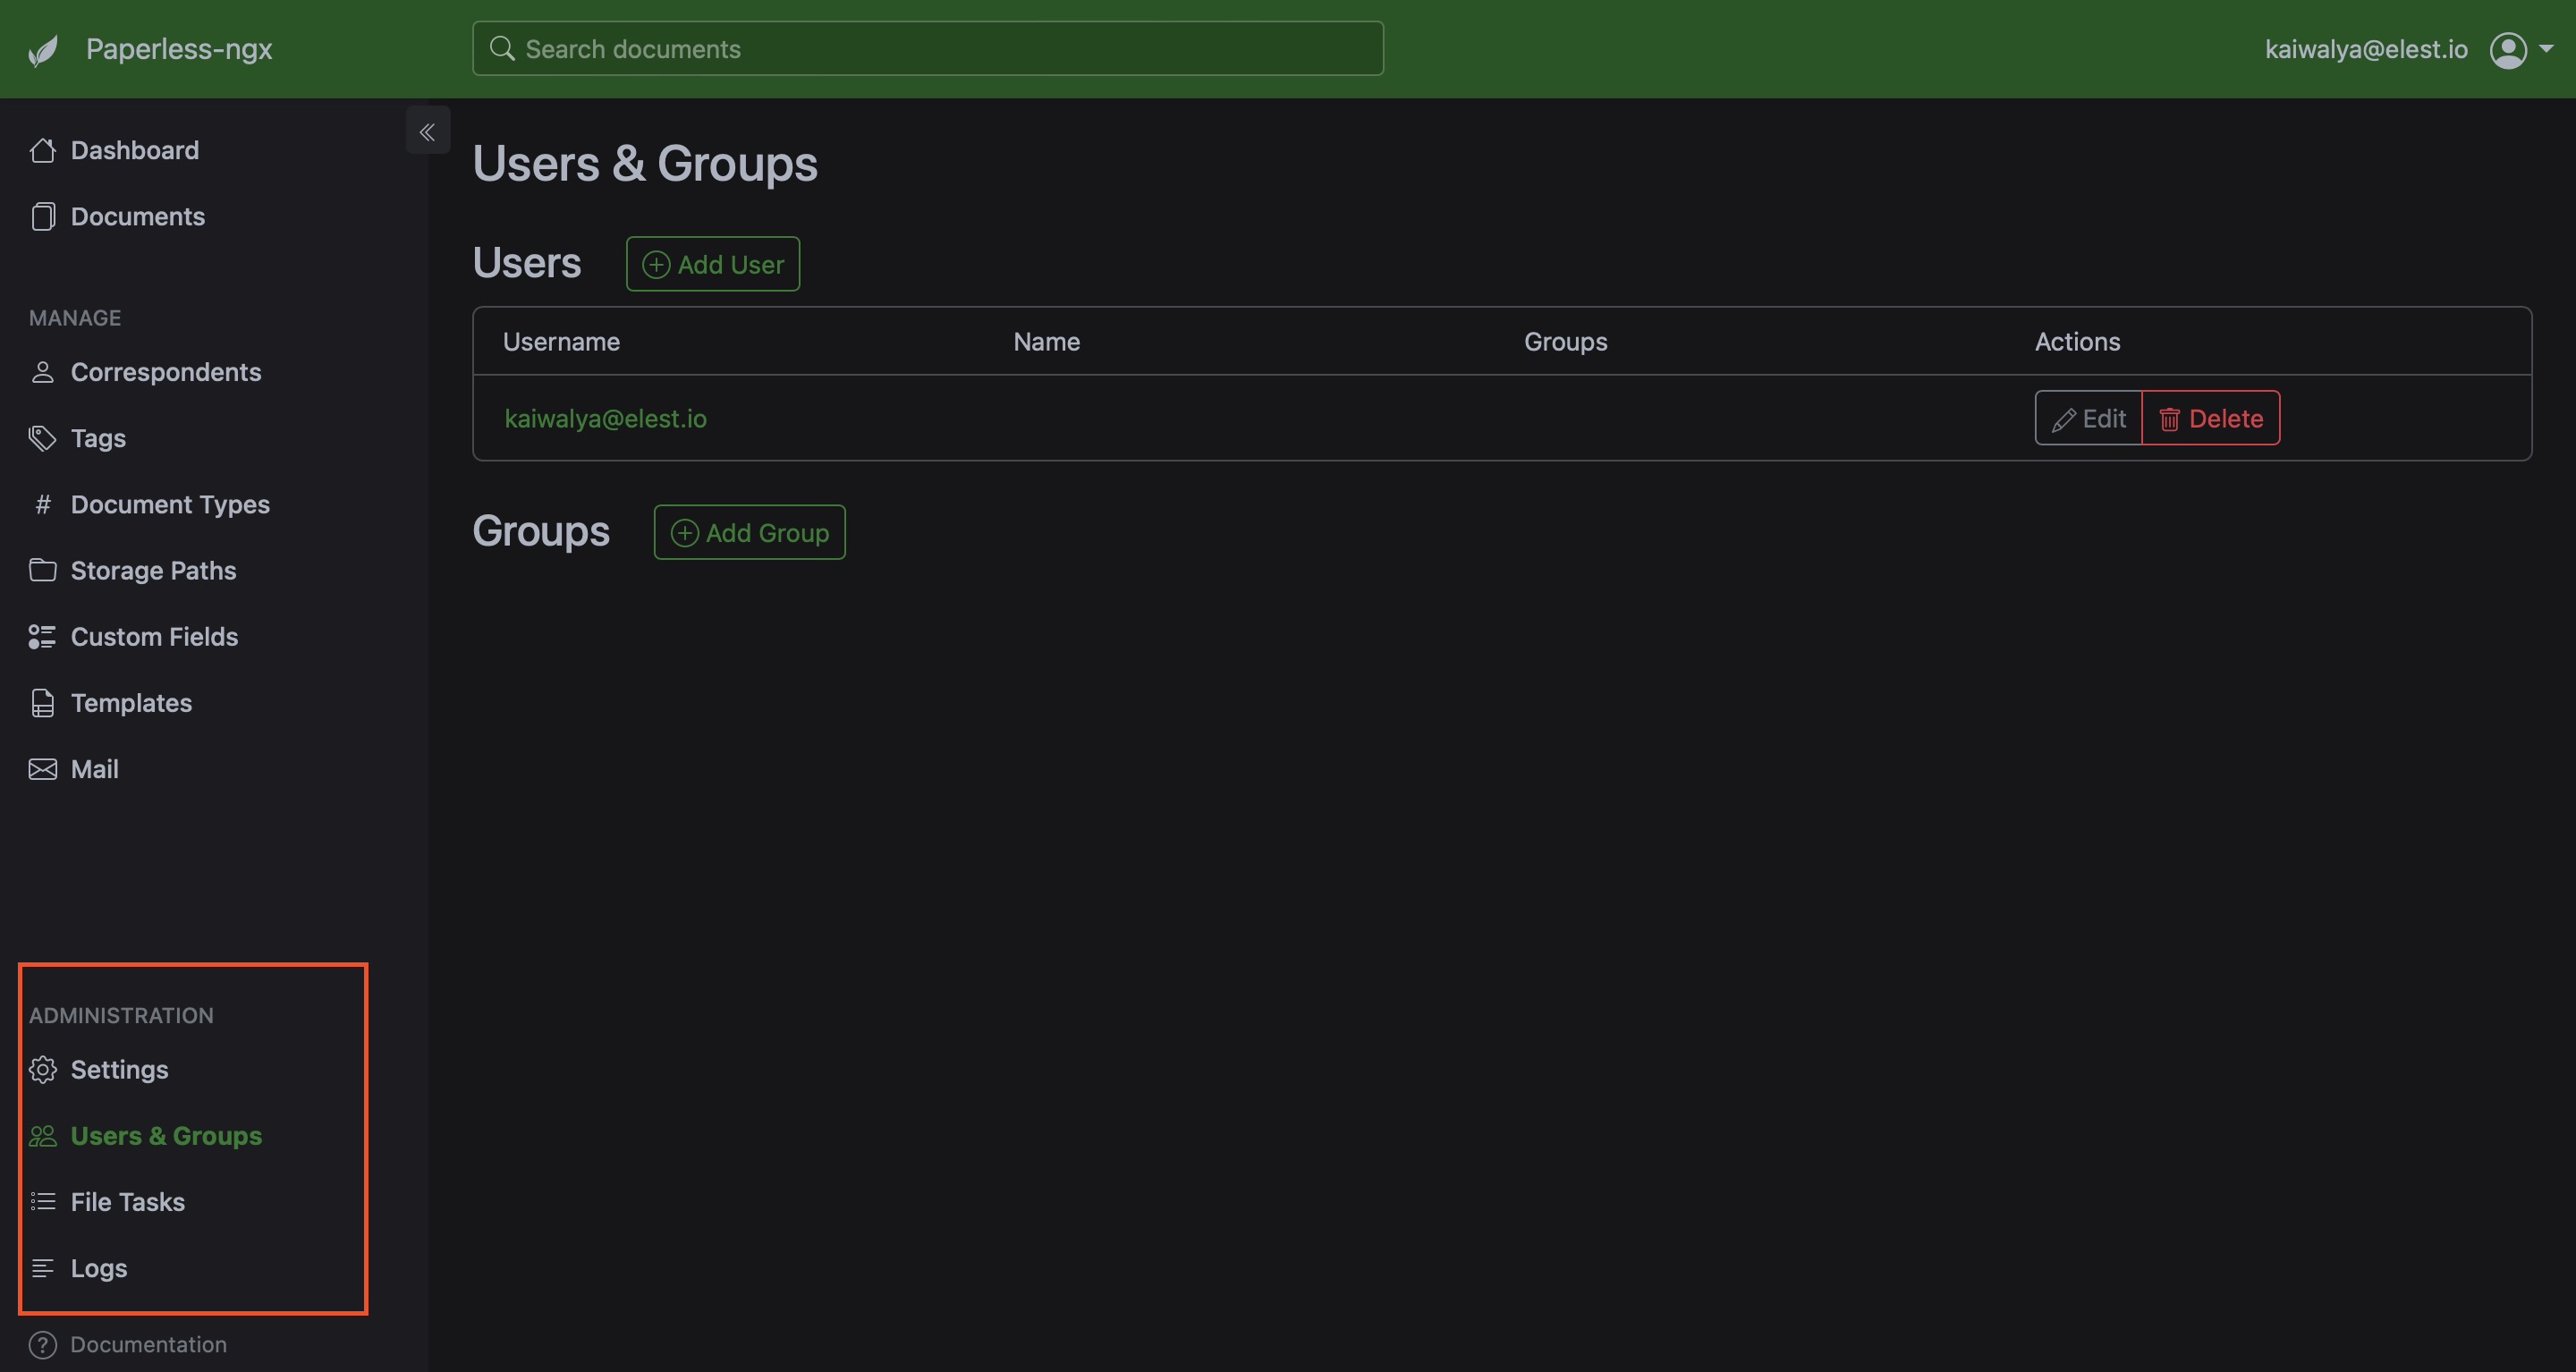
Create groups for teams
Create groups for a team. This will allow sharing of documents with team members and collaborate with them. Create groups by clicking on the "User & Groups" section on the left-hand side of the screen. Add, edit and delete groups from this screen. See which user added a document.