Plane is an open source, self hosted and user friendly project management tool that prioritizes simplicity and a better user experience. It provides features that lets you customize your workflows with ease, including Backlog, Unstarted, Started, and Completed projects. You get to visualize your tasks in List, Kanban, or Calendar views, tailored to your preferences. With custom workflows, Plane offers flexibility to adapt to your specific needs.
Login
On your first visit to the site, you will be presented with the login/signup screen.

When your instance is first created, an account is created for you with the email you chose. You can get the password for this account by going to your Elestio dashboard and clicking on the "Show Password" button.
Enter your username and password and click the "Login" button
Setting up Profile
During your initial login, you will encounter the profile setup screen. It is essential to provide your name and role to optimize your search engine visibility and establish your professional identity within the tool. By completing this step, you can enhance collaboration and networking opportunities with other users. Click the "Continue" button to proceed.

Creating a Workspace
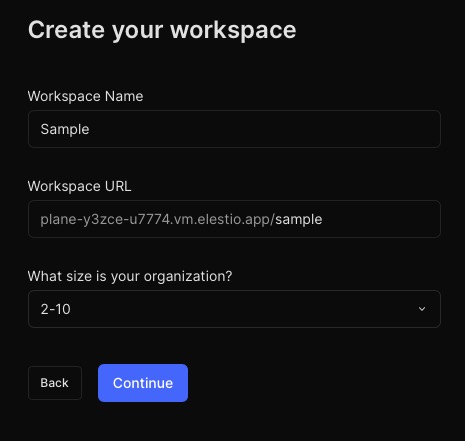
When logging in for the first time, you will encounter the workspace creation screen. Provide a unique name for your workspace that reflects its purpose and click the "Create" button. Workspaces serve as a central hub where you can collaborate with team members, track project progress, and leverage analytics to gain insights into your workflow.
Dashboard
The dashboard in Plane provides a comprehensive overview of your workspace's statistics and activity. With its user-friendly interface and intuitive design, the dashboard allows you to easily navigate through the various sections and access key information at a glance. Using data visualization and analytics, the dashboard helps you to make informed decisions, optimize collaboration, and enhance productivity within your team.

Building a Project
Creating a project
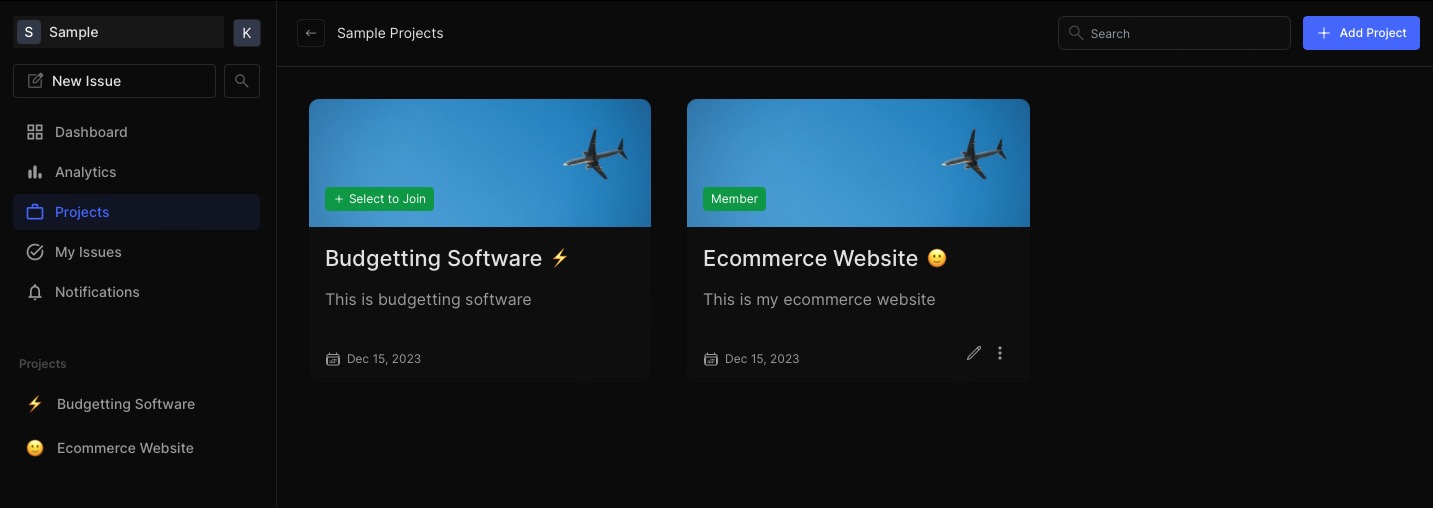
Creating a project in Plane offers several benefits. It allows you to organize and manage your work effectively, collaborate with team members, track project progress, and leverage analytics to gain insights into your workflow. To create a project in Plane, navigate to the Project section in the left sidebar and click on the "Add Project" button. Provide a descriptive name for your project, specify its visibility, and select the project lead. Finally, click the "Create Project" button to initiate the project creation process.

Viewing Projects
Under the "Projects" tab on the left sidebar, you have the ability to access and view all your projects collectively. Additionally, you can click on each project card to view them individually. This feature in Plane provides a centralized and organized view of your projects, allowing you to easily track progress and manage tasks. You gain valuable insights into the status, milestones, and overall performance of your projects.
Creating Issues
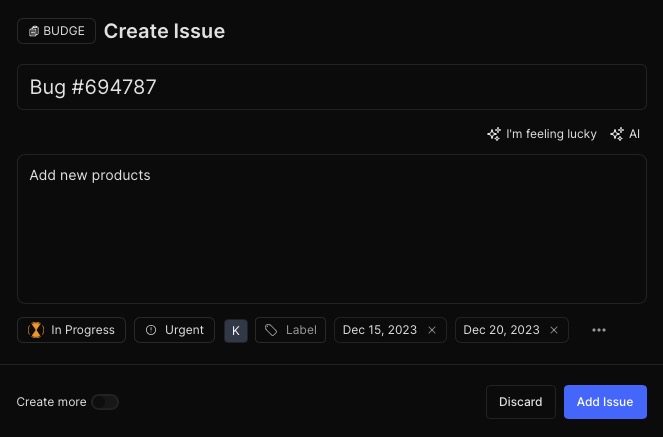
Issues allows you to effectively organize and prioritize tasks, assign responsibilities to team members, track the status and progress of each issue. To create an issue in Plane, navigate to the "Issues" section under your project card on the left sidebar and click on the "Add Issue" button. Provide a concise and descriptive title, along with a detailed description of the issue. Specify the status, priority, assignee, label, start date, and deadline to effectively manage and track the progress of the issue. Once all the necessary information is entered, click the "Add Issue" button.
Creating Cycle
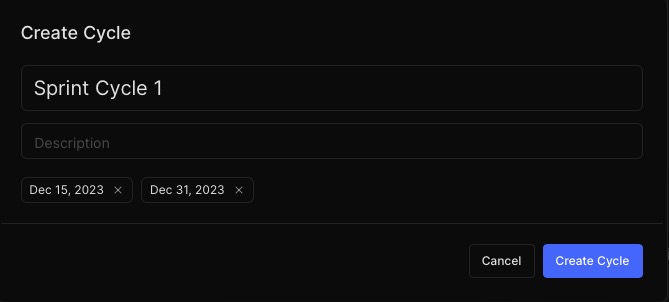
Software cycles are an essential feature of the Plane tool that allows users to group related issues together and get insights into project milestones and progress. This helps teams to better plan and manage their projects, optimize workflow, and ensure timely delivery of milestones. To create a cycle, simply navigate to the "Cycles" section under your project card on the left sidebar, click on the "Add Cycle" button, and provide a name, description, start and end dates for the cycle. Finally, click the "Create Cycle" button to initiate the cycle creation process.
Assign issue to Cycle
To efficiently manage your projects in Plane, you can navigate to the project and assign or create issues. By clicking on "Issues" under your project card in the left sidebar, you can access the issue management section. To assign an issue to a project, simply click on the "Already created Issue" button and select the desired issue. This allows you to organize and prioritize tasks, track progress, and collaborate.
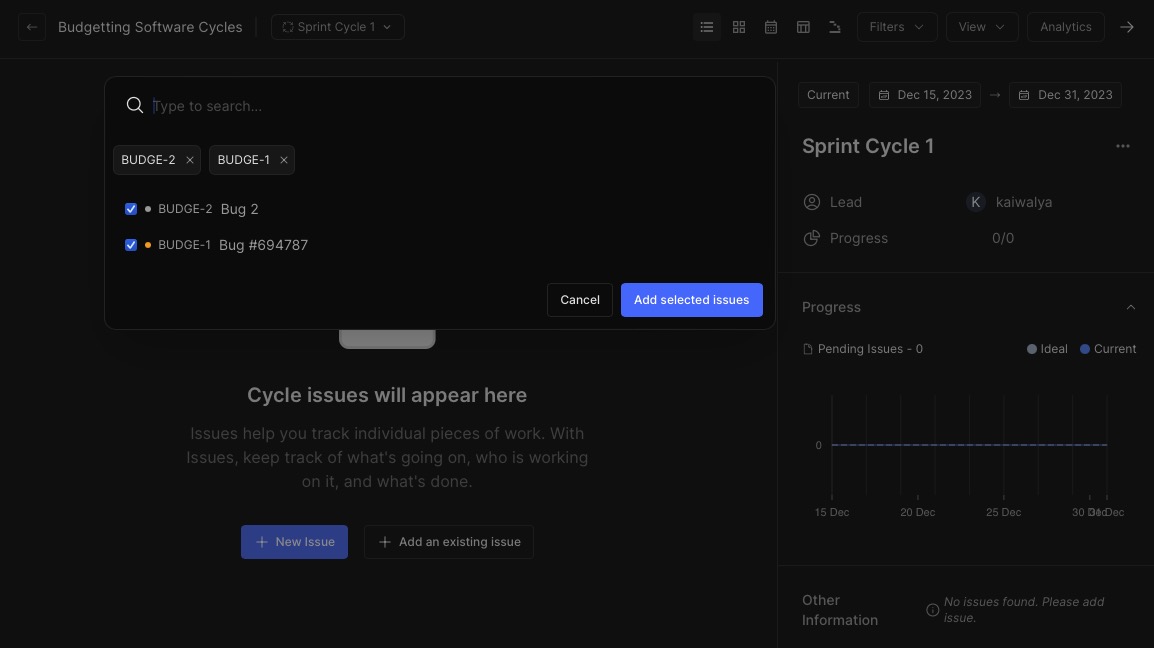
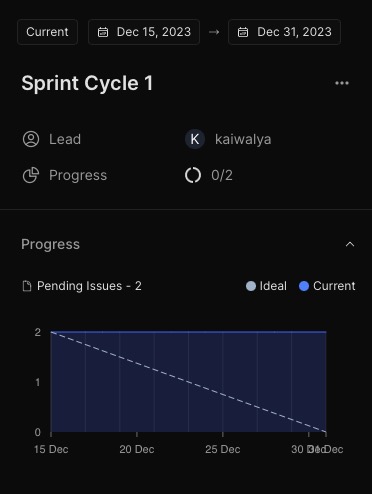
After assigning or creating the issues you will see insights on the left side of the screen.
Project Settings
To modify the appearance, name, and description of your project, navigate to the "Settings" section under your project card on the left sidebar. Here, you can customize various aspects of your project cycle. By updating the project settings, you can tailor the project to your specific requirements and ensure accurate representation of its purpose and goals.

Analytics
View activity within your workspace by accessing the "Analytics" tab on the left sidebar. Utilize this feature to analyze and track the performance of your projects and workspace. The project analytics feature provides a centralized and organized view of your projects, enabling you to identify trends, measure success, and identify areas for improvement.

Members
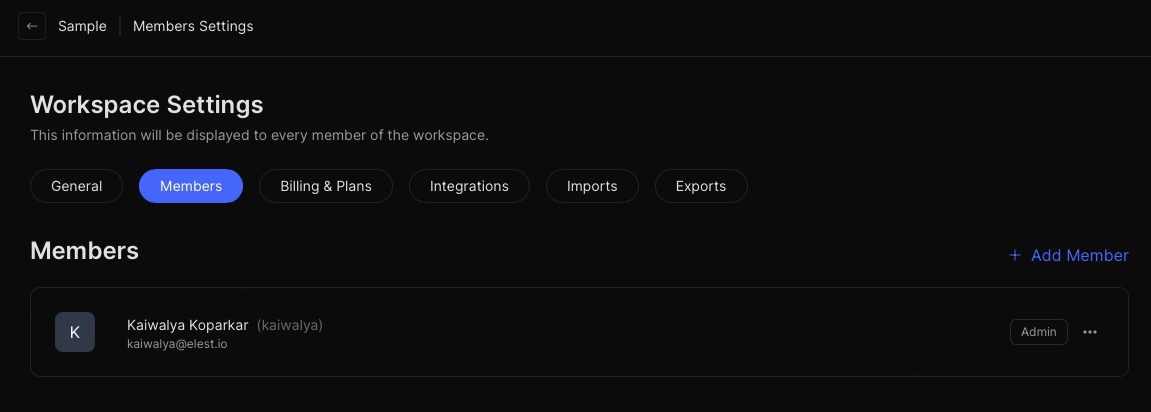
Working in a team? You can add members to your workspace by clicking on the "Members" tab on Workspace settings. You can add members to your workspace by entering their email and clicking the "Add Member" button.
Import & Export projects
Importing project
Importing an existing project into Plane is a seamless process. By navigating to the "Import" tab in the Workspace settings, you can effortlessly bring your project into the tool. Choose the preferred method of import and follow the step-by-step instructions to successfully transfer your project. It allows you to replicate your project, ensuring that no progress is lost. Additionally, it provides a convenient way to take backups of your work, safeguarding against any unforeseen circumstances.

Exporting project
To replicate your project or create a backup of your progress, navigate to the "Export" tab in the Workspace settings. Choose the preferred method of export and follow the step-by-step instructions. By exporting your project, you ensure the preservation of your hard work and maintain the integrity of your project's data.
