Authentik is an self hosted, open source identity provider that provides unified platform for all your identity requirements. It integrates with active directory for SSO, implements a customized enrollment process, simplifies user verification and provides recovery in your application.
Login
On your first visit to the site, you will be presented with the login/signup screen.
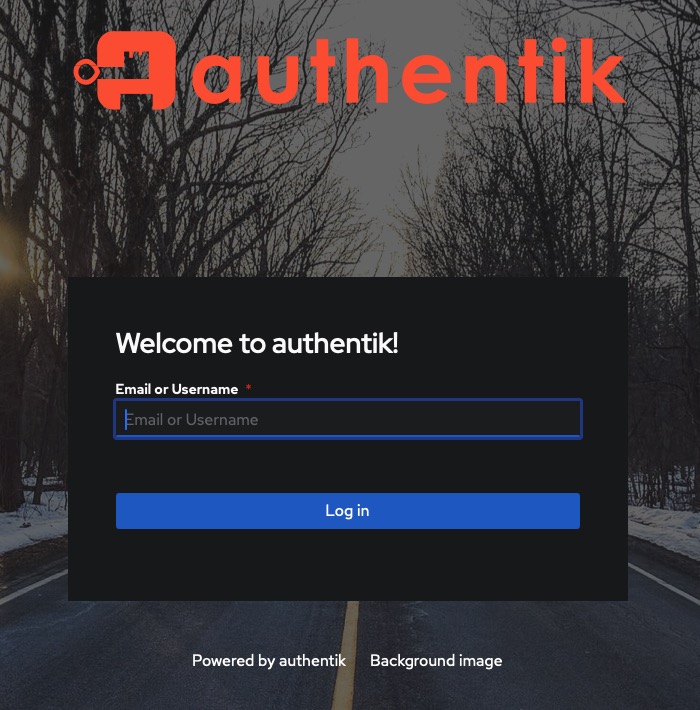
When your instance is first created, an account is created for you with the email you chose. You can get the password for this account by going to your Elestio dashboard and clicking on the "Show Password" button.
Enter your username and password and click the "Login" button
Dashboard
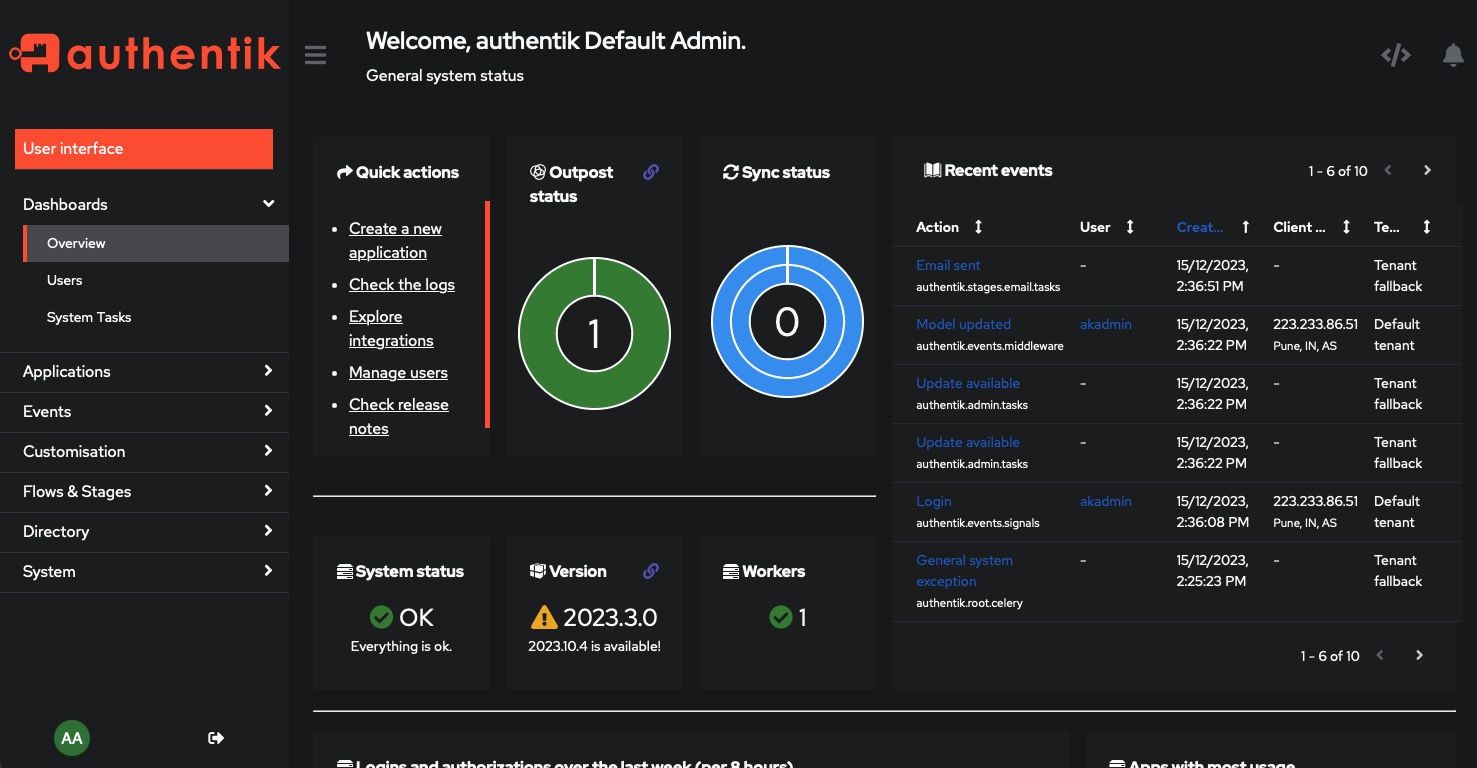
Once you have logged in, you will be presented with the dashboard. This is the main page of the Authentik web interface. Head over to "Admin Interface" to perform the initial configuration.
Admin Dashboard
The admin interface of Authentik allows you to configure and manage your authentication system. With the admin dashboard, you can create users, configure authentication sources, and set up applications. Additionally, the dashboard provides pie charts that display the status of Outpost and Sync.
Adding Providers
To configure your authentication source, navigate to the Applications > Providers tab on the left side of the screen. Here, you will find a variety of providers that can be integrated into your applications. By adding providers, you can enhance the security and flexibility of your authentication system. These providers offer a wide range of authentication options, allowing you to choose the one that best suits your needs.
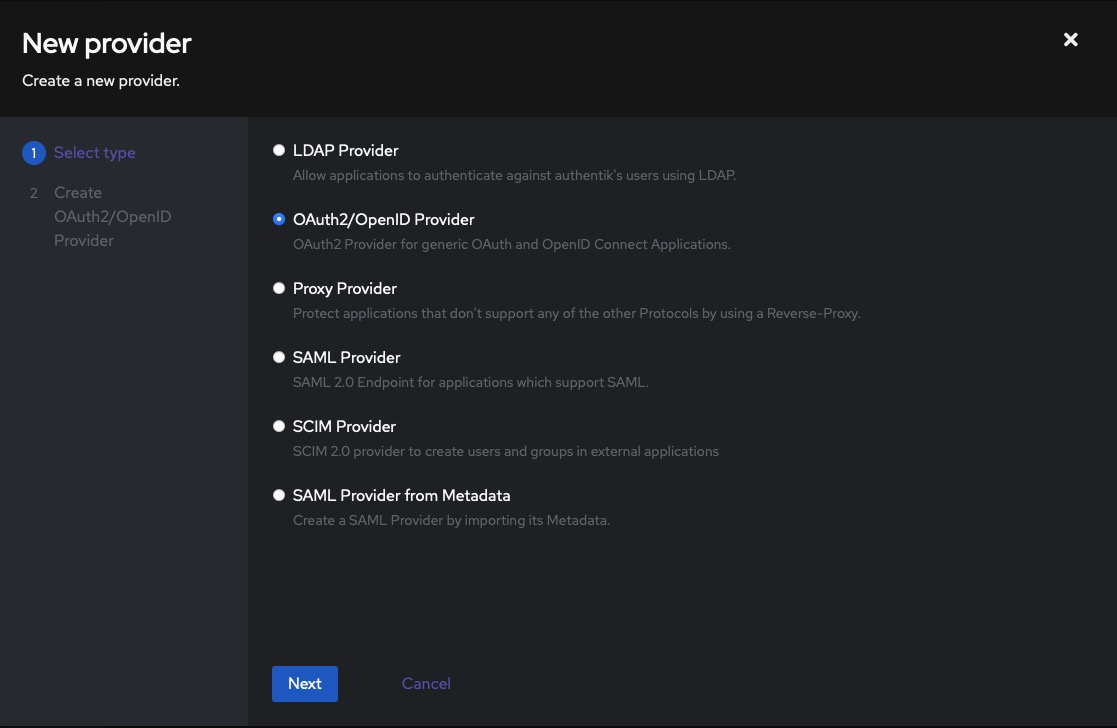
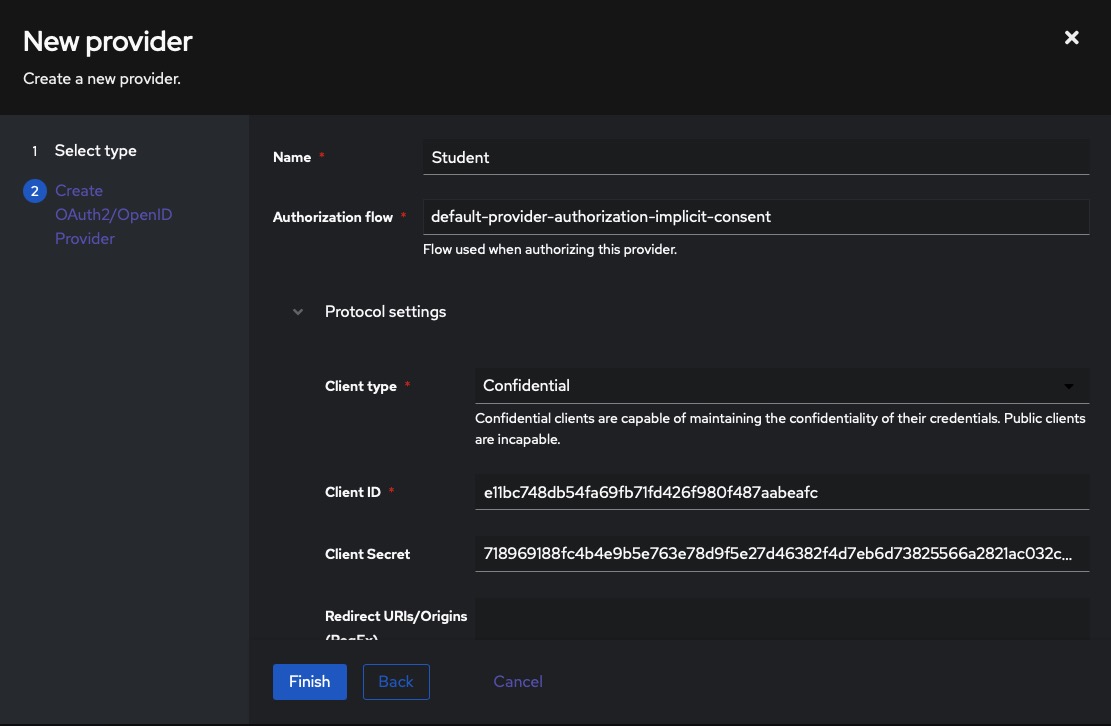
Once you select the provider, name the provider and click on the "Finish" button. You will see client Id, client secret, and other information. You will need this information to configure your application.
Creating Application
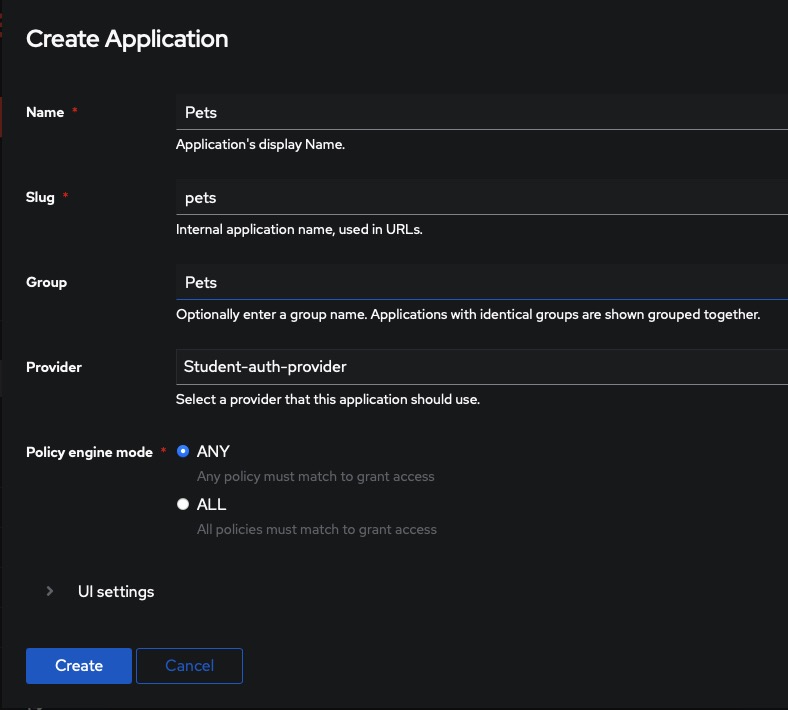
By navigating to the Applications > Applications tab on the left side of the screen, you can easily add a name, slug, group, and provider. Adding these details not only enhances the security and flexibility of your authentication system.
Event Logs
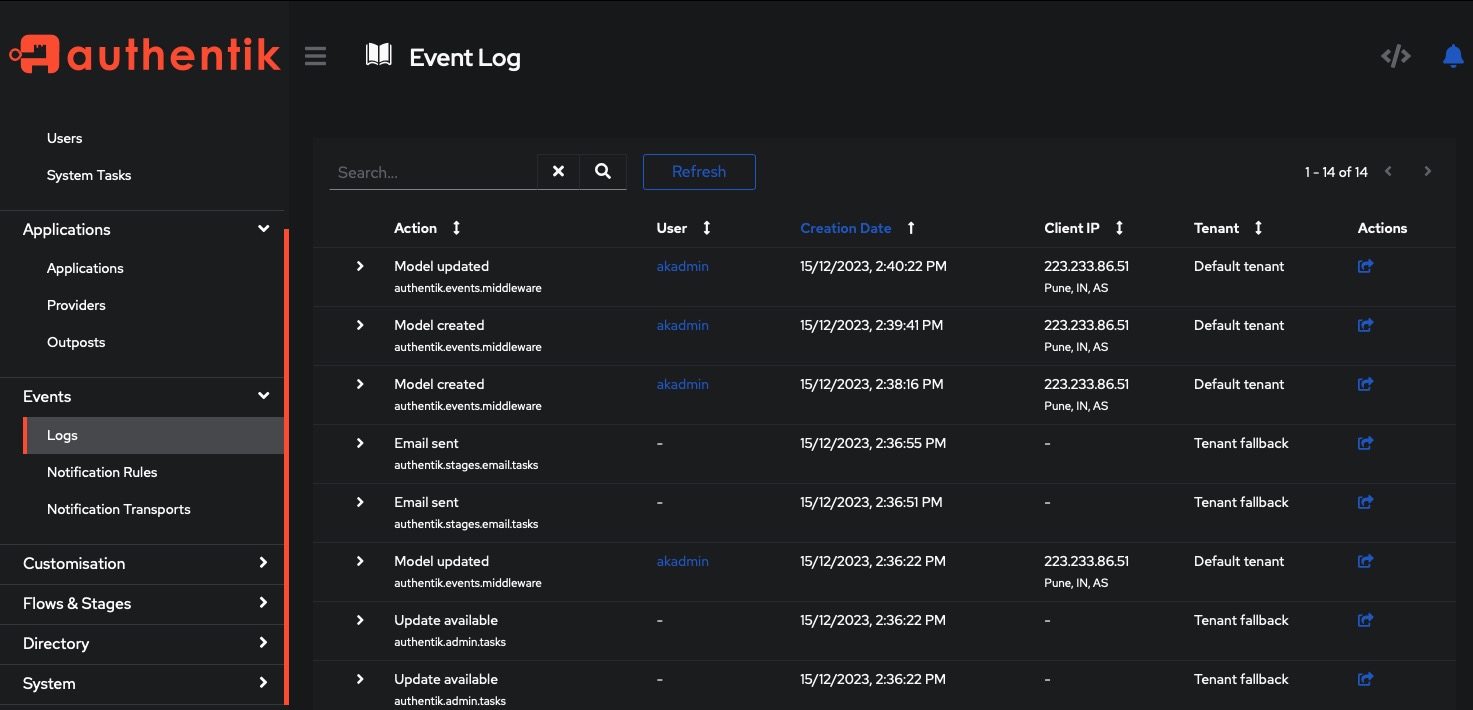
To access logs in the Authentik authentication system, navigate to the Events > Logs tab on the left side of the screen. From there, you can easily filter logs based on date, user, and IP address. Logs provide valuable insights into user activity, helping you monitor and analyze authentication events for security and compliance purposes.
Notification Transports
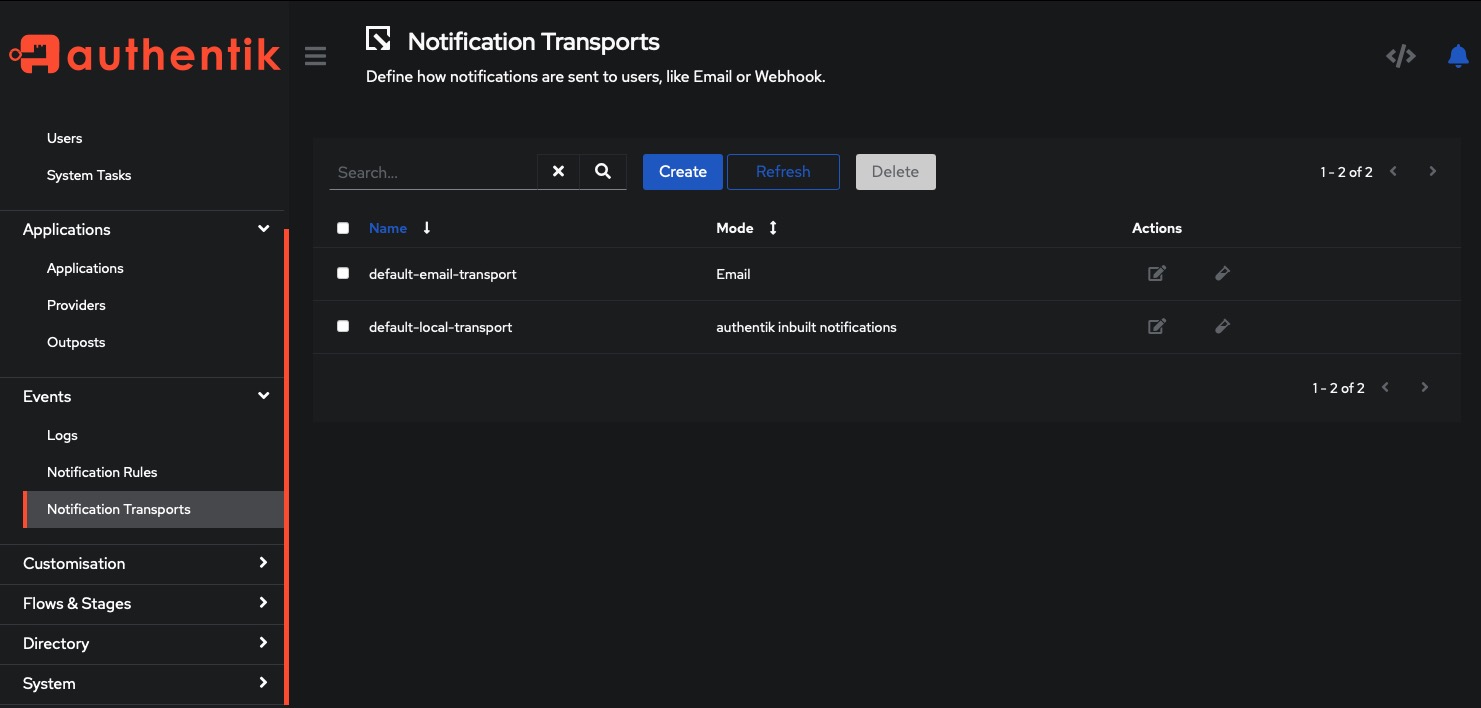
To configure notifications in the Authentik authentication system, navigate to the Events > Notifications tab on the left side of the screen. Customize notifications for user login, logout, and registration events. Additionally, set up notifications for login failure, logout failure, and registration failure events. Stay informed about important activities in your authentication system through email and other notification channels, ensuring enhanced security.
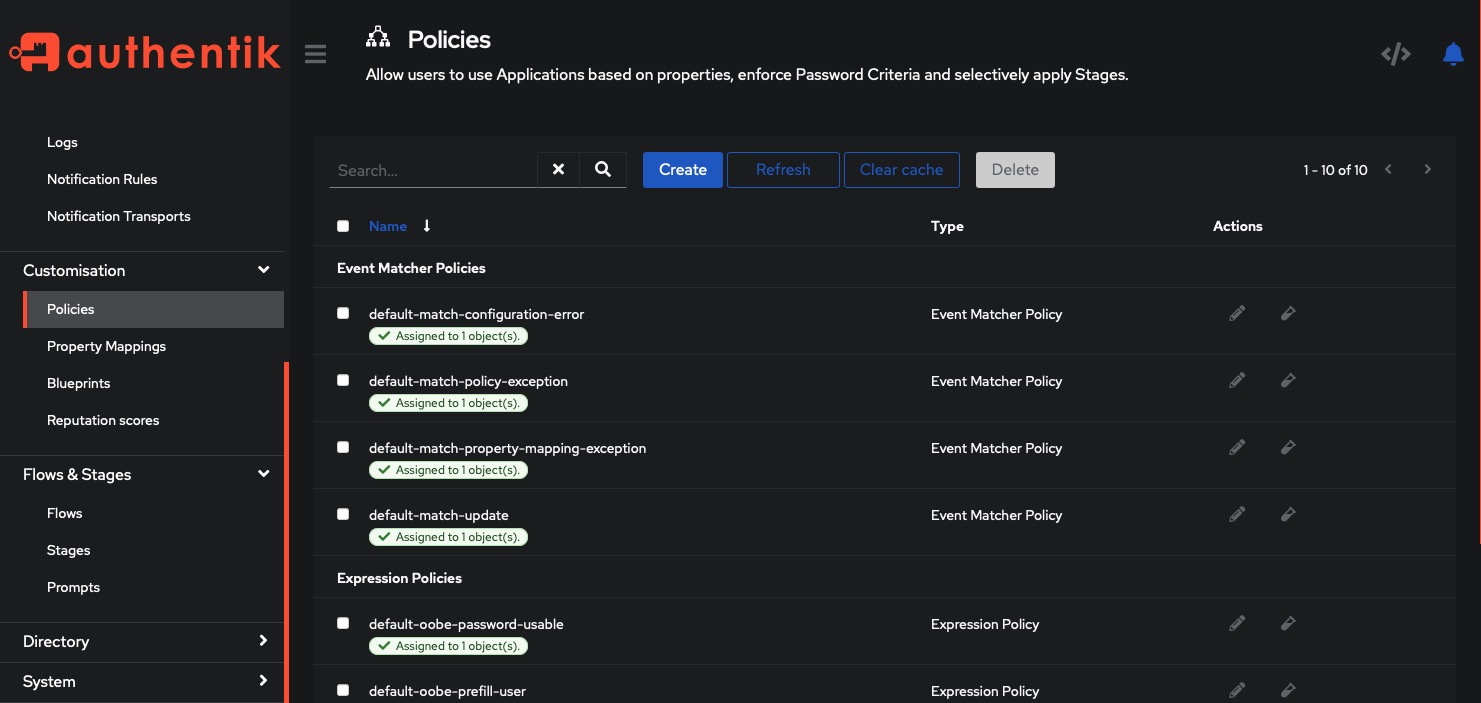
Policies
Policies play a crucial role in authentication systems as they define access control rules. By creating policies through the Customization > Policies tab, you can manage and enforce security measures. These policies allow you to specify the desired actions and effects for different applications, users, and groups. With policies, you can ensure that only authorized individuals have access to sensitive resources, enhancing the overall security of your system.
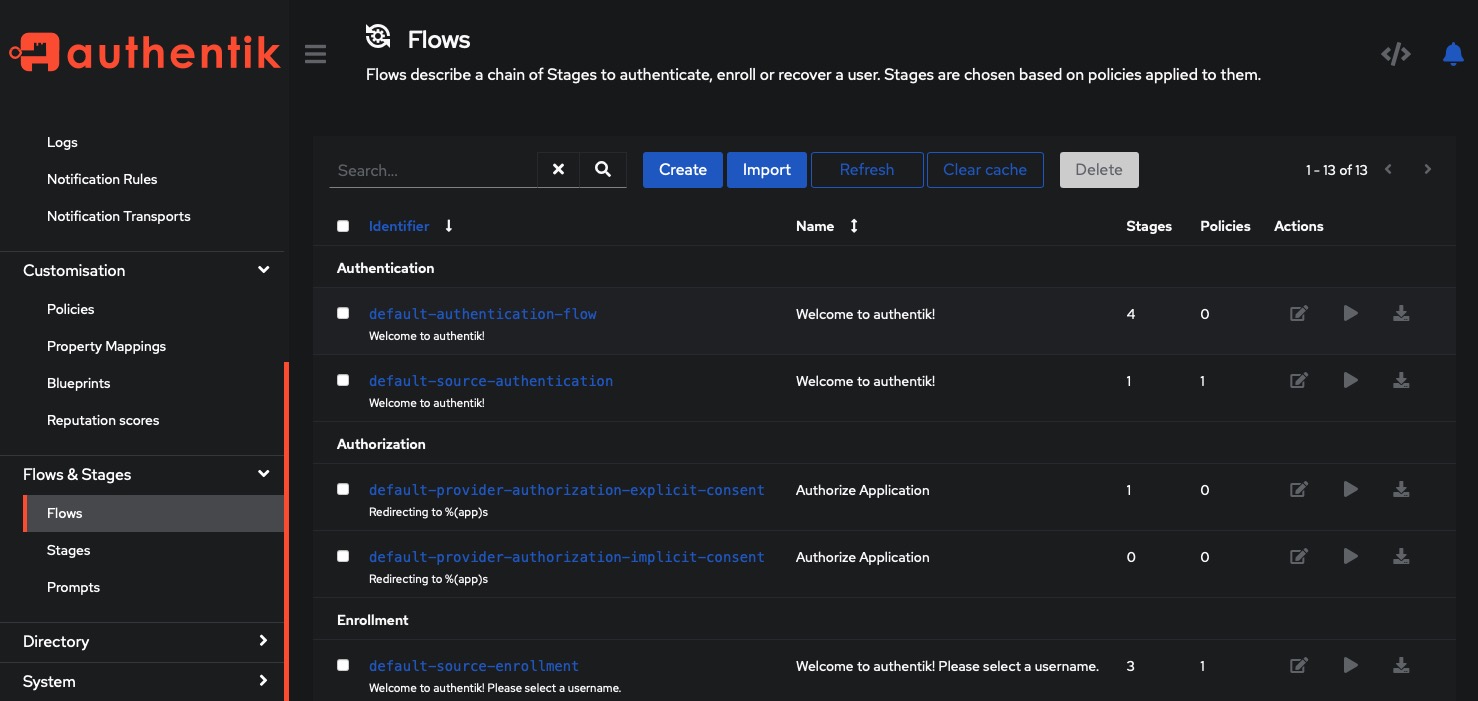
Flows
Flows in an authentication system are a series of stages that facilitate user authentication, enrollment, and recovery. These stages can be customized based on applied policies. By navigating to the Flows and Stagers > Flows tab, you can easily create and manage flows for your applications. Creating a flow allows you to define the desired user experience and streamline the authentication process. With flows, you can enhance security, improve user enrollment, and simplify the recovery process.
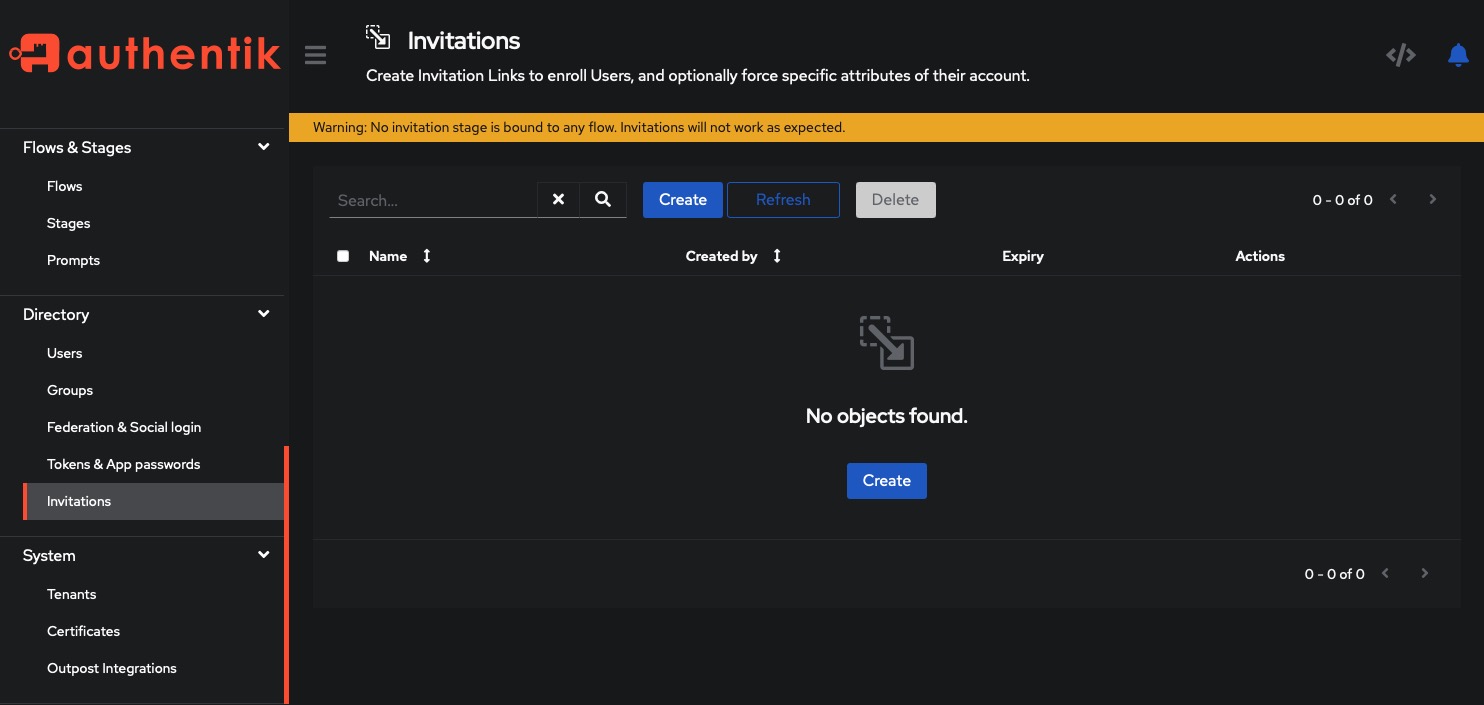
Inviting Users
Invite users and give them specific attributes. Click on the Directory > Invitations button on the top right corner of the screen. Use the tokens and secrets for email validation stages, Recovery keys and API access.
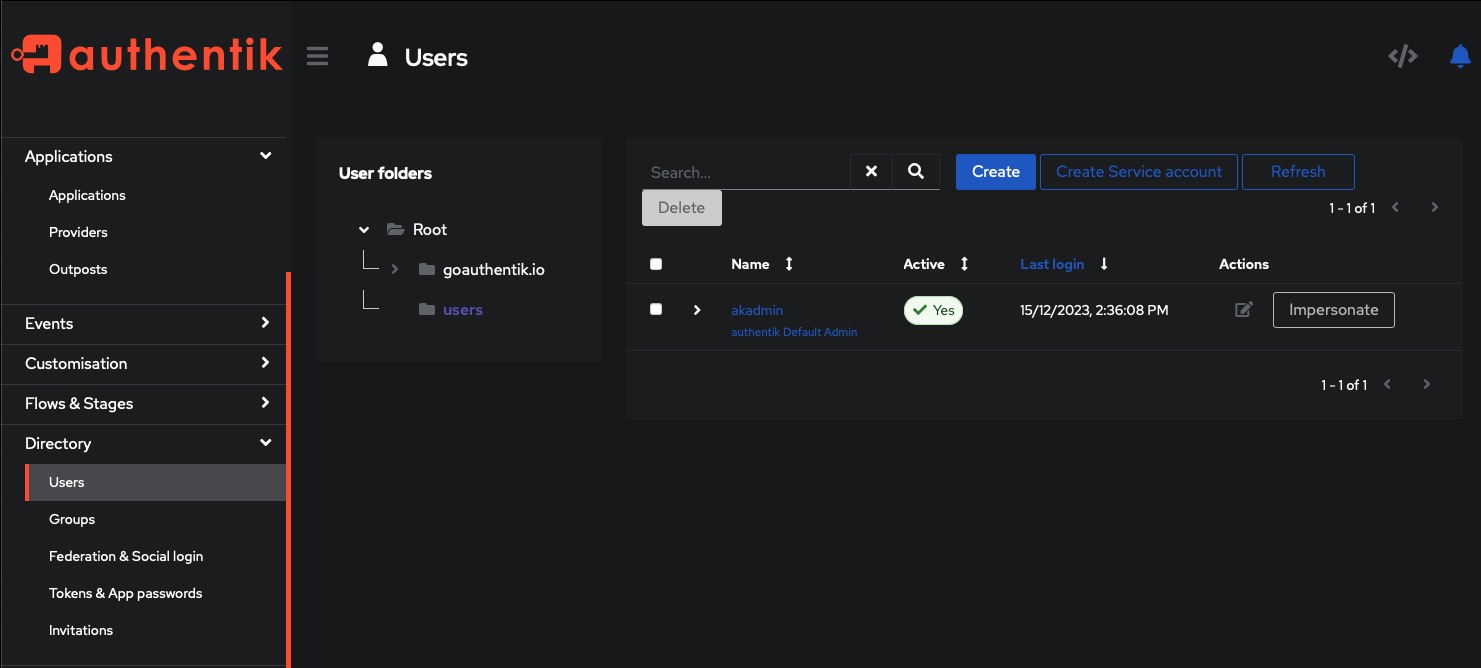
Manage users & Groups
Easily manage users and groups by clicking on the Directory > Users and Directory > Groups tab on the left side of the screen. Create a user or group by clicking on the "Create" button. Define the user or group by selecting the application, user, and group along with the action and effect of the policy.